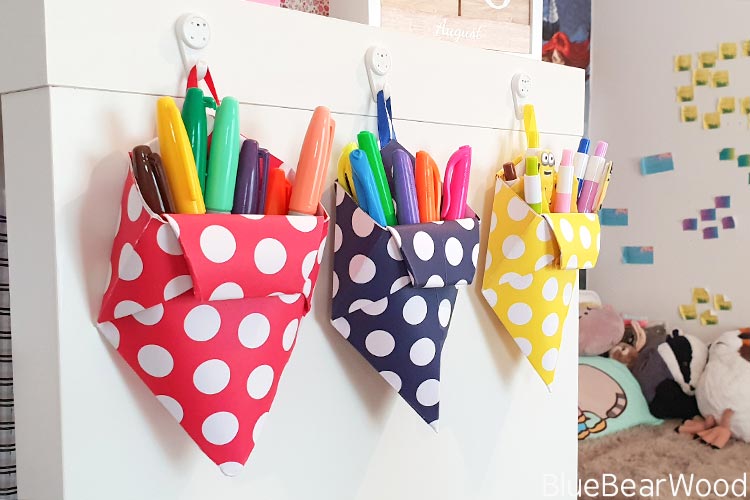
It’s back to school time, so we decided to make some super cute Origami Pen Pots to help organise the girls’ numerous pens, pencils, crayons, more pens, felt tips… you get the picture!

What I love about these origami pen post is that you only need three types of craft material to make and there’s very little cutting, gluing, snipping etc.
If you like these then you may also like my Milk Carton Pen Pot, Tin Can Shelf Craft
Materials Needed
This post contains some affiliate links for your convenience (which means if you make a purchase after clicking a link I will earn a small commission but it won’t cost you a penny more)!
You will need the following materials to make your Origami Pen Pots…
- Bostik Micro Dots
- 12″x12″ card – I used Papermania Capsule Collection – Spots & Stripes Brights
- Coloured ribbon
- scissors (to cut ribbon)
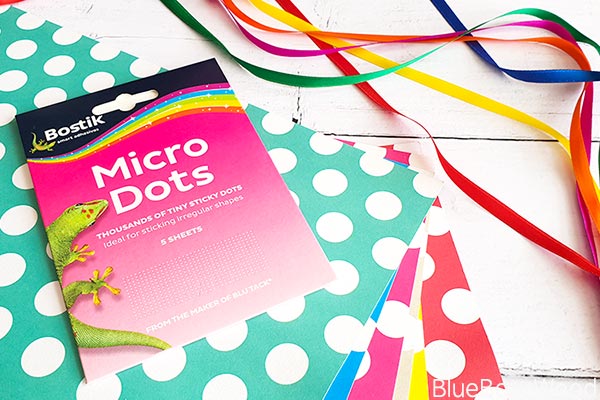
Don’t use card that’s too thick or you won’t be able to fold it!
How To Make Your Origami Pen Pot
Fold your 12″x12″ paper square in half and then into quarters making sure to score firmly along the crease marks. Open out your paper and fold in half along the diagonal.
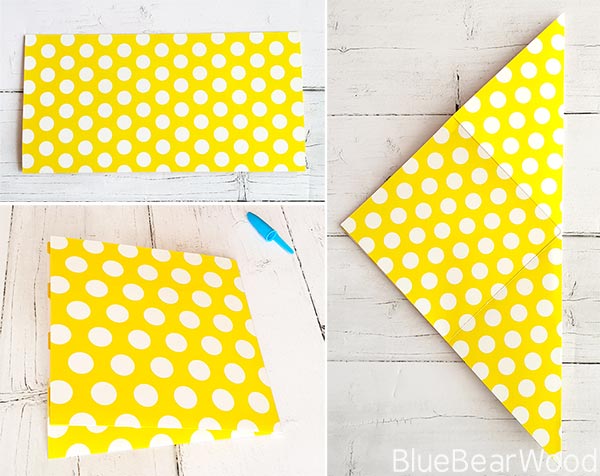
With the folded edge at the bottom take the two outer corners and fold them in so you make a square. Turn the paper over and fold in the outer edges to make another triangle shape like the middle image below. The paper won’t crease perfectly at the tip. Try and make it as neat as possible but don’t worry too much as this won’t be visible. Next, open out each small triangle and gently push in the bottom seam so it flattens out. Do this on each side

Fold-down the small inner triangle and crease along the top. Next carefully fold it under until it tucks in, to form the middle of a bow type shape.

Cross over the back two pieces and fold them over each other. This will cause the pen holder to puff out and create the space where your pens will go. Tuck each fold into the back of your origami pen holder.
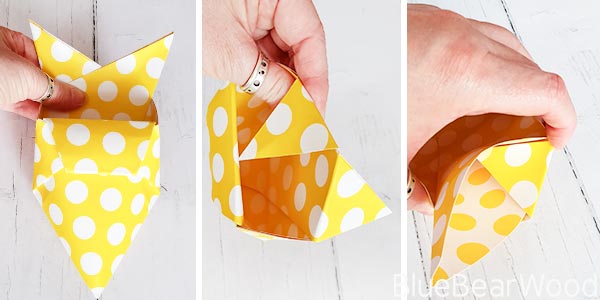
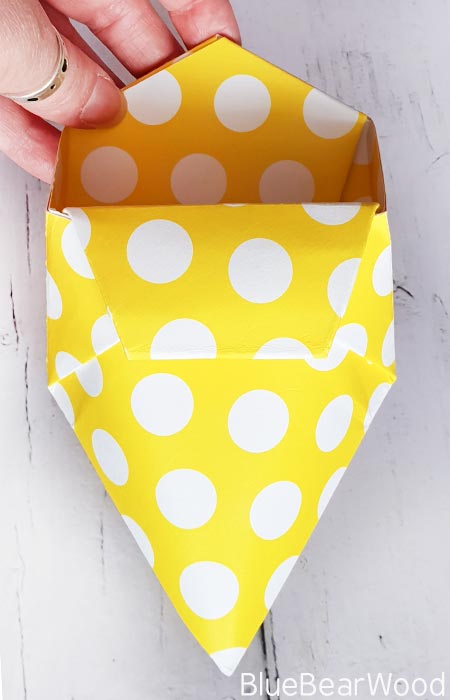
Cut strips of ribbon about 10cm in length and put Bostik Micro Dots on either side of one end of the ribbon and tuck it into the top of the pen pot near the center point (there will be a small gap where you tucked in the last fold. Do the same with the other end of the ribbon to create a hanging loop

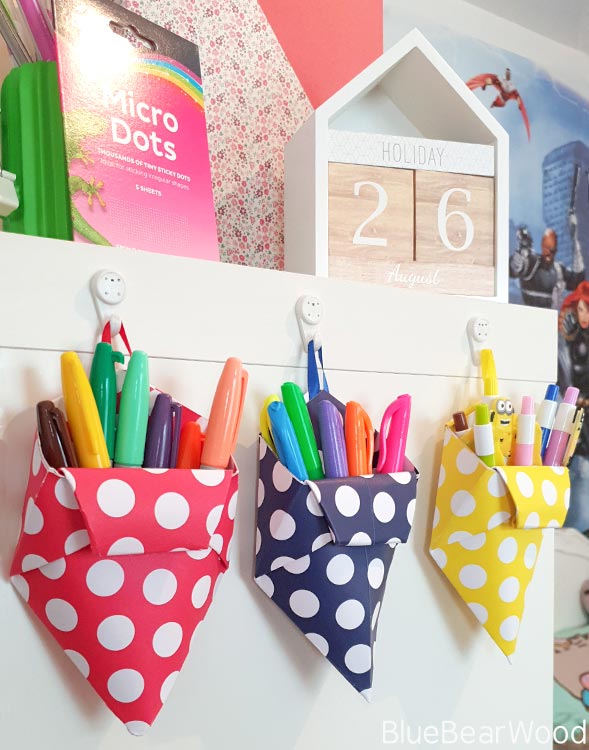
Finally, hang on a wall or shelf and fill with pens
Leave a Reply