Easy Cone Christmas Tree Craft for Kids and Adults
This Cone Christmas Tree Craft is one of my favourites. The first few stages I would rate as hard so aimed at older children and adults but the decorations can be added by any age!
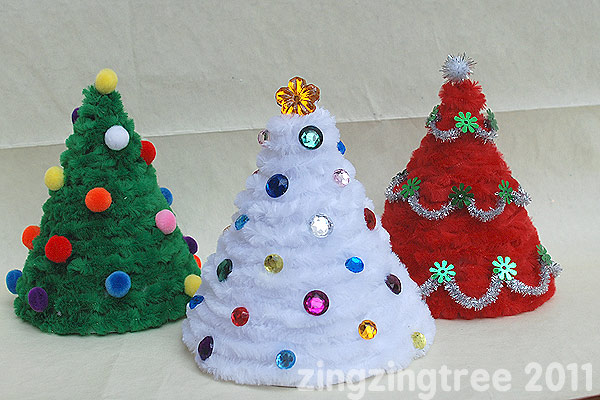
Create a festive Cone Christmas Tree Craft that’s perfect for holiday decorating! This project is great for older kids and adults, with some simpler steps that even little ones can help with.
Materials Required For The Cone Christmas Tree Craft:
- Card (white or colored)
- Chenille ribbon (without wire inner)
- Glue
- Scissors
- Paintbrush (optional for spreading glue)
- Decorations (spangles, sequins, pom poms, gems, etc.)
Tip: Chenille ribbon works just like chenille stems, but without the wire, making it more flexible and kid-friendly.
Step 1: Make the Cone Base
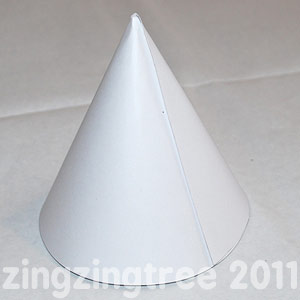
Start by drawing a semicircle on a piece of card. Cut the semicircle out, shape it into a cone and secure the ends in place. I prefer to secure the ends with double-sided tape, but strong tacky glue or a glue gun can also be used. For a flawless look, choose a card colour similar to your chenille ribbon/yarn to help conceal any gaps.

Step 2: Apply the Chenille Ribbon
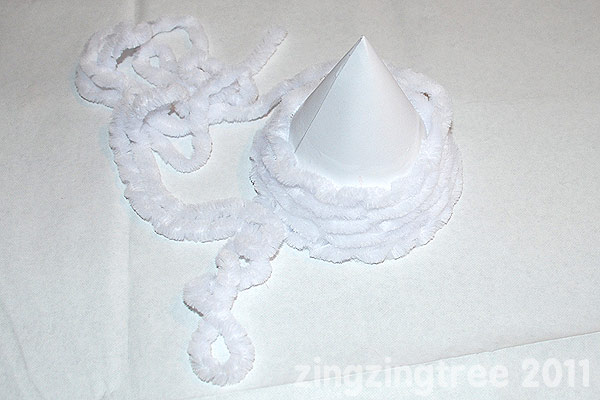
Generously apply glue to the bottom quarter of the cone. Then Tuck the end of the chenille ribbon back on itself or inside the cone (to hide the end) and begin wrapping it around the cone, pressing gently into the glue as you go. Make sure the glue is thick enough for a strong hold. If the glue is too thin the ribbon will not stick properly.
Step 3: Cover the Cone Completely
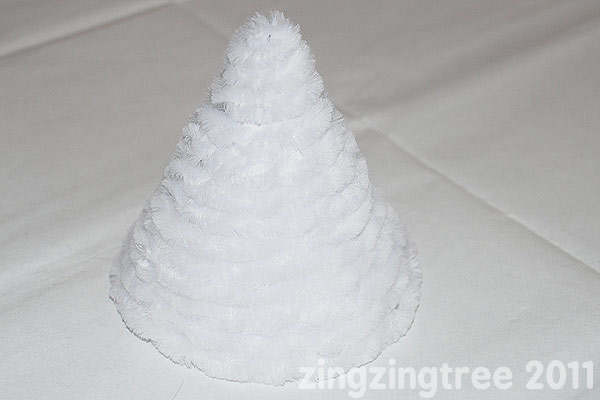
Continue wrapping the ribbon around the cone, applying more glue as needed until the entire surface is covered. If you spot any gaps, gently adjust the ribbon to cover them. For extra security, cup your hands around the entire cone and press the ribbon to ensure it sticks firmly.
Step 4: Decorate Your Cone Christmas Tree Craft
Now for the fun part – decorating your Christmas tree! Add spangles, sequins, pom poms, gems, or any other embellishments to give your tree a festive sparkle. Let the whole family get involved in adding the decorations.
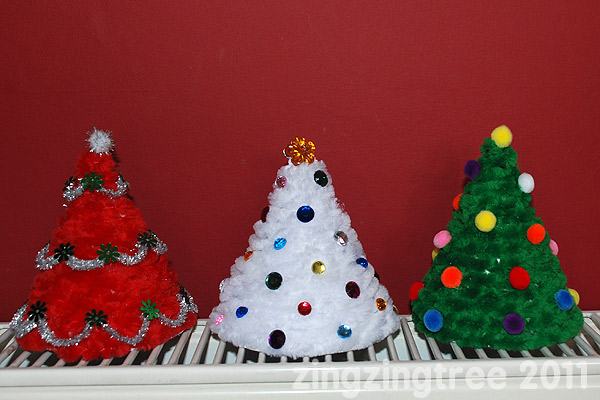
This Cone Christmas Tree Craft is a great way to add a personalized touch to your holiday décor. With a little creativity, each tree can be unique, making this project a perfect addition to your Christmas crafting.
love the christmas trees! so great. I’m a new twitter follower now. take care.
Simple and cute. These would look great in a little Whoville Village. I’m going to try some with my kids. Thanks for sharing how you did it.
oooh I like those VERY much! and so simple. xx
These do look really cool and very effective. Think we’re going to have a few of these around the house!
Zing Zing I love you!
Please link up your great ideas at our Link Party. I love the trees and will try them in thick wool but love that chenille!
These look amazing
These are beautiful!
These are very cute, thanks for sharing 🙂
This is SUPER cute!! LOVe it!! I pinned it & am deffinetly going to do this with my kiddos.
Love these! Going to have to give them a go myself.
Love these! Going to have to give them a go myself.
Eek! Another FABULOUS idea! I’ve never used chenille ribbon, I will be now! Thanks for another fantastic link to Festive Friday…PLEASE come back again! 😀
Eek! Another FABULOUS idea! I’ve never used chenille ribbon, I will be now! Thanks for another fantastic link to Festive Friday…PLEASE come back again! 😀
these are very effective , love them! x
these are very effective , love them! x
I love these, such a simple idea.
I love these, such a simple idea.
beautiful xmas deco
beautiful xmas deco