So I’m half way through decorating my girls new playroom when Tots100 asks if I’m interested in reviewing a new product by Dulux called ‘Bedroom In A Box’ … interesting I thought and went off to investigate further!
Dulux have teamed up with Walltasic to create the product that has everything you need to transform your child’s room (wall panels, paint and wallpaper paste) … all in one box! How fantastic is that?
Originally it was limited to A Jungle Adventure and Fairy Princess theme, but now the range has been expanded to include Peppa Pig, Sea Adventure and Avengers Assemble. As soon as I saw the Avengers Assemble box I was in, and a few days later our Bedroom In-A-Box Avengers Assemble arrived … oh the excitement!
Is it easy to use …well yes kind of.
I will start by saying that the finished room looks amazing. I love the wall panel (mural as I call it). It adds a great dramatic focal point to the playroom and I’m so glad I took the time to put it up.
It’s easy to unpackage and use straight away. You do need to buy paintbrushes and equipment for wallpapering the panels (apart from the wallpaper paste) separately. One slight niggle is that the instructions for putting up the wall panels mention that you can use double sided sticky tape but there isn’t any in the box. You need to go and buy some if you’d rather use that than wallpepaper paste which could delay you room decorating. Personally I think they should either make that clearer on the outside of the box or possible provide two different box options.
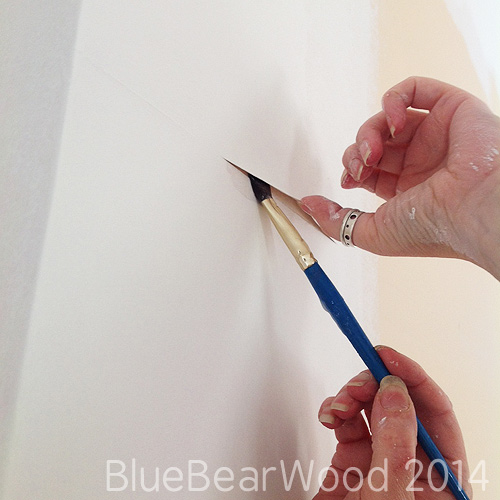
 The instructions for each product are either printed on the packaging or come as a leaflet inside (wall mural). Before I started putting up the panel I finished whitewashing the wall and repaired areas of the liner wall paper that hadn’t been papered to the wall properly. I use a standard good quality paintbrush to do this and carefully lift up the paper and wiggle the wall paper paste inside.
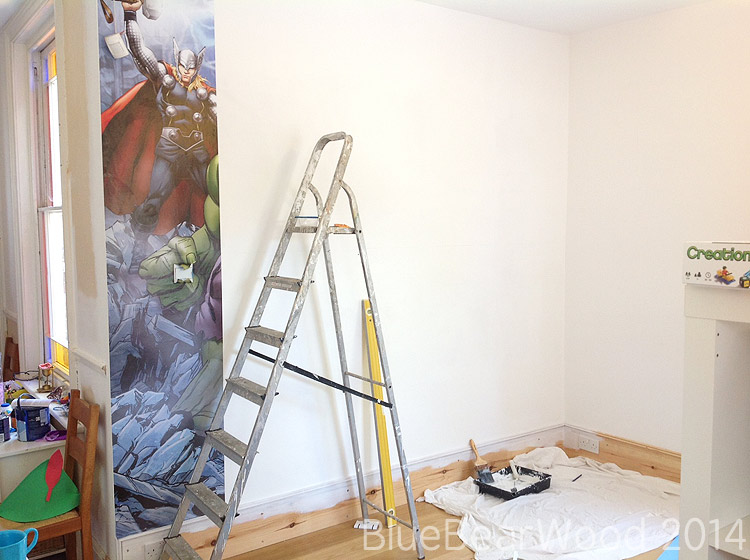
It’s a big beasty, covering and area 10ft x 8ft, but you can trim it to fit or take it around corners like some other bloggers have done.
It comes in 12 panels that need to be pasted from the top left to right. The panels aren’t numbered so you need to work out which panel goes next from looking at the picture on the box (it’s not that difficult). The wall panel is a little tricky and I wouldn’t say for a novice diy-er. I wanted to start in the top right corner as the other end of the wall opens out into our hall (the room is open plan) but the panels are constructed to start at the top left. I worked by doing top, bottom, top, bottom until the end. I should also mention I had to put the panels up by myself … if you can get help I would!
I found that I needed to put two coats of wall paper paste on each panel. The first coat soaked in and stretched the paper and so another coat was needed to stick it to the wall. Putting the sheets up is straightforward as well. You can manipulate the panels quite easily (peeling on and off) to get the edges to match up.
The panels overlap each other slightly and there are small guide marks to help you get your alignment straight. The underneath panels are by far the hardest to match up as you are matching along the vertical and horizontal line.
Not having nice smooth level walls is also a bit of an issue and I had to do some careful overlapping in places where my wonky wall wasn’t feeling the panel love. But that would have been the same with any patterned wall paper.
My biggest mistake or should I say problem was that I had to put the panels up over two days and the second day was a hot sunny day which meant that the panels dried out quicker and shrunk a little whilst up on the wall, causing some misalignment. I did try and rectify this by carefully peeling one of the panels off using a damp sponge (which took forever) and actually didn’t rectify the problem sufficiently to warrant all my hard work.
The panels I put up on day one were perfect but the panels on day two were a lot harder and in places I had to make a judgement call about where the misalignment needed to show. Any problems I had though were all down to my own capability (or lack of it) and nothing to do with the kit itself.

The results though are amazing and I love the finished product. Hopefully Dulux will continue to bring out more and more themes to suit everyone including maybe some adult ones. I’m not talking dirty! I was thinking that woodland, flowers, scenery would work well.
My biggest tips … get someone to help you, don’t do it on a sunny day and make sure you can do it in one go. Simples!
Watch the video below to see the finished wall … the girls love it and so do I!
We were provided with a Bedroom in a Box for the purposes of this review by Dulux and Tots100. You can find out more about the Bedroom in a Box range on Facebook, Twitter, YouTube and Pinterest.”
This is a great idea! Definitely a time saver having everything you need in one box. Well done you for doing it yourself! Looks great.
We had the same mural and they look fab. But of course, putting them alignment is not fun at all. It is really hard. Otherwise, it is a great kit.
This is such a good idea! Looks good & the mural looks great too 🙂
Sarah xx
This is a great idea, shame it didn’t come complete with a few tools though.
I think you have done an amazing job. The husbeast wouldn’t agree to us having one as he hates wallpaper
It does look great, I’m just not sure I would have the skill or patience to do it justice.
I love the idea of this, I think it looks fab once up too! Think I would get hubby and someone else to put it up – I could bribe him and a friend with Pizza!
We had the under the sea one for my boys bedroom when he was a nipper. Was my favourite room in the whole house.
Now years later the baby wants a big boys room. And sadly dulux stopped doing these amazing boxes. So I’ve had to trace down the make of the murel and do it that way. But it shall be worth it. Avengers bedroom here we come! Strange 6 yr old wants black walls and gold paint work with the mural. If that’s what sir wants lol.