This Queen Elizabeth Silhouette Art Project is fantastic for older kids to make. We made it specifically as a Platinum Jubilee Craft. But the project is incredibly versatile and could be used fork lots of different royal families and celebrations.
advert : paint & glitter products

You do need to use a craft knife to cut out the silhouette so an adults help may be required for this depending on the age of the kids.
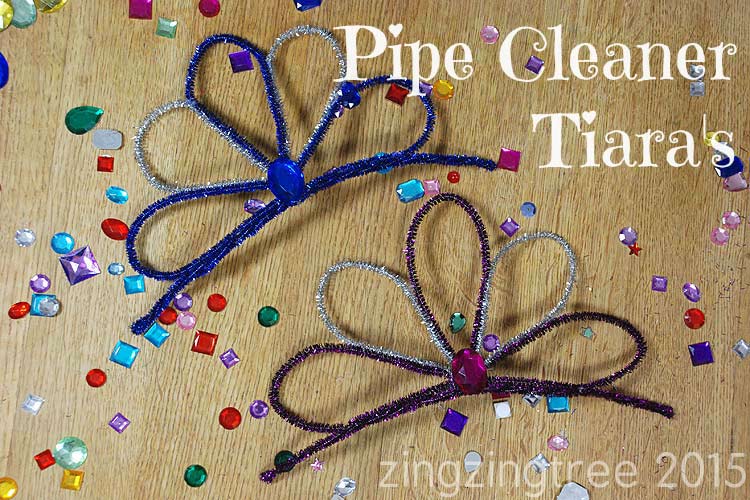
If you like this you may also like my DIY Jubilee Crown T-shirt, Pipe Cleaner Tiara’s and Jubilee Hair Pin Wheels


This post contains some affiliate links for your convenience (which means if you make a purchase after clicking a link I will earn a small commission but it won’t cost you a penny more)! As an Amazon Associate, I earn from qualifying purchase
Material Required
To make the Queen Elizabeth Silhouette Art you will need
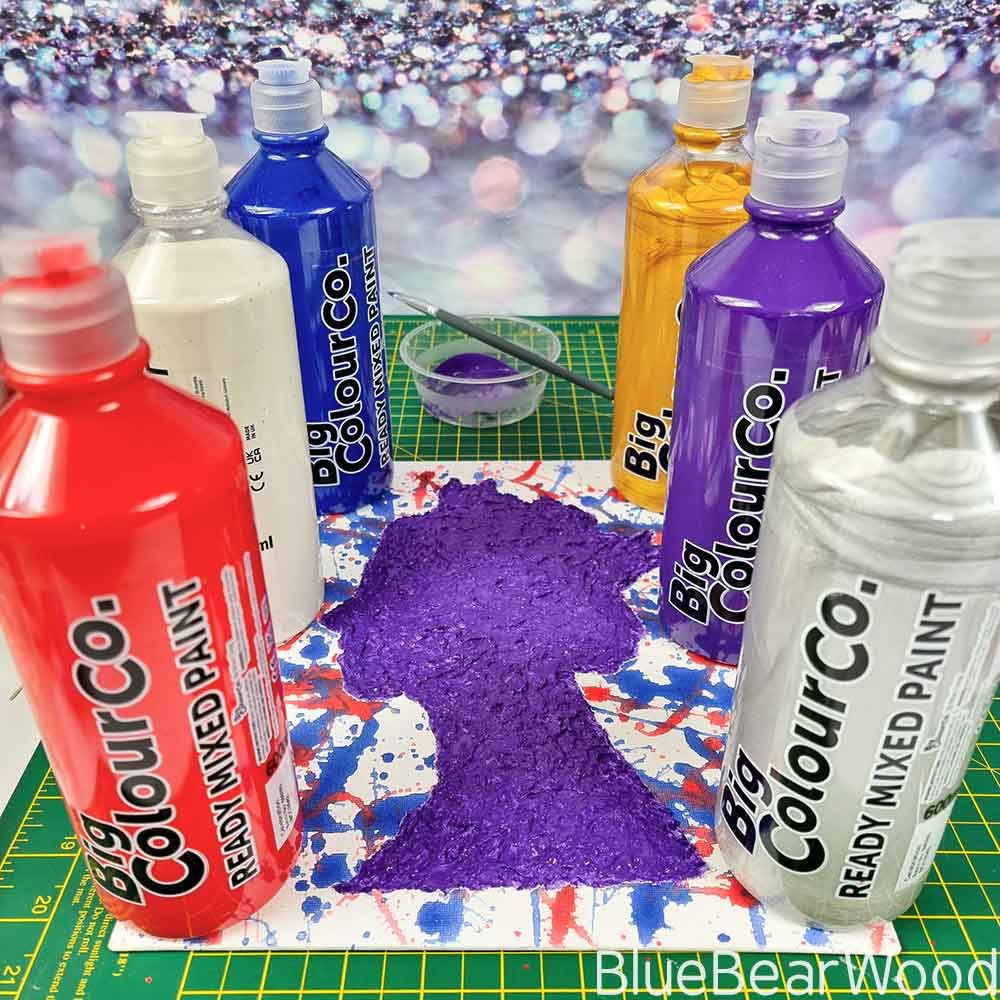
- Ready Mix Paint ( I used the Big Colour Co Jubilee Paint Set)
- Paper Mache Powder
- Canvas Boards (I used 10×12″ that worked well with an A4 Print out)
- Silver Glitter ( I used Big Colour Glitter)
- White Glue
- Paint Brushes (for painting and flicking)
- Queens Head Silhouette ( you can download yours here)
- Thick Card
- Craft Knife
- Cutting Mat
- Pencil
- Washi Tape
Useful/Optional
- Palate Knives or clay tools
- Take Away Containers/Containers for paint
- Plastic Table Cloth
Splatter Paint The Canvas Board
The first step is to splatter paint your canvas board. Because the board is white it’s only necessary to use red and blue paint.
Cover your work area well as the splatter travels and do it in an area you don’t mind getting messy. Outside can be good for this. And have some cleaning clothes to wipe up the paint afterwards.
Dilute your paint but not too much. You want to keep the pigment strong but make it watery enough to splatter well! I find about a 1/3 water works well.
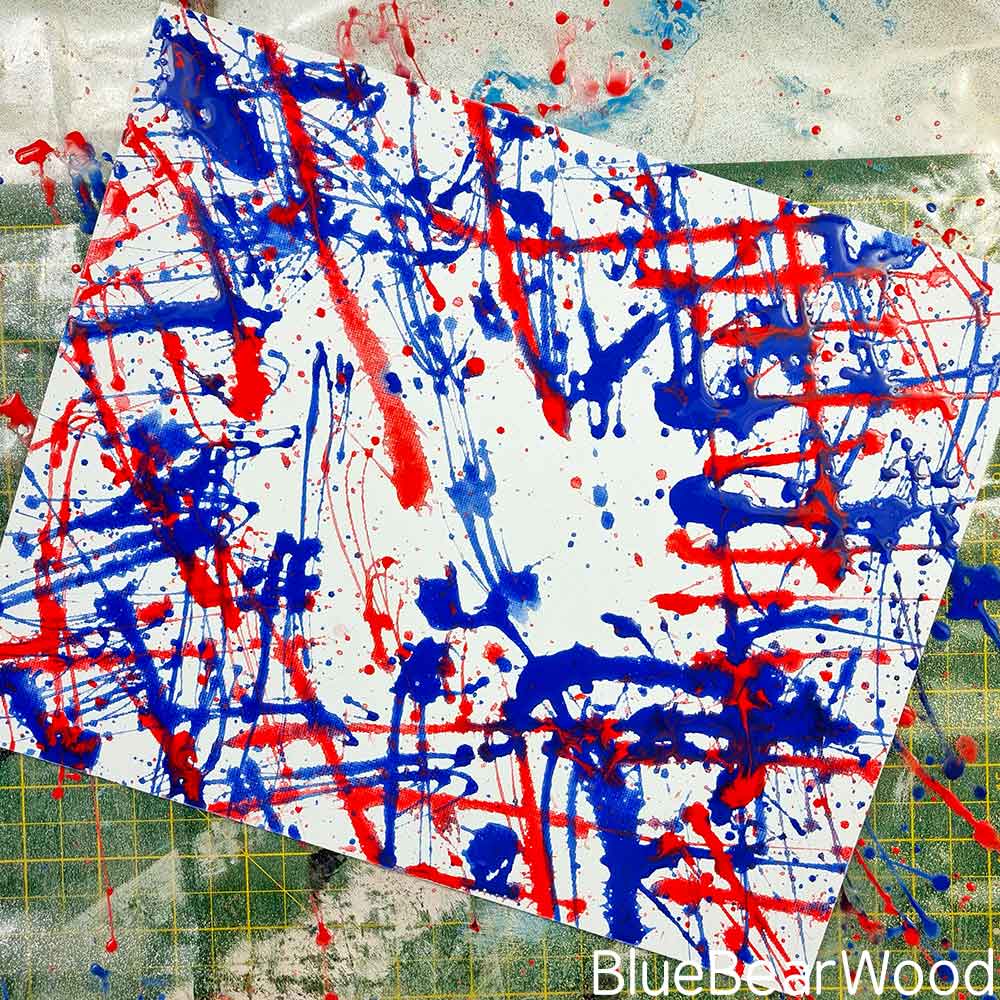
The type of paintbrush you use creates different marks so it’s worth testing out some splats on scrap paper. We used a classic large round kids art paintbrush and a small paint brush used for home DIY. The round art paintbrush made nice thick splatters with little spurs, where as the small DIY paint brush created firmer linier lines.
Start with the blue paint first and rotate the canvas to get a mix of splatter paint directions. Then do the red paint and set off to one side to let the paint dry.
Cut Out The Queens Silhouette
The Silhouette fits on a piece of A4 paper.
It’s worth taking your time to cut out the Queens Silhouette as you can use both pieces as a template depending in how you fill the shape (see paper mache powder).
You could print straight on to some thick card or use a paper print as a template to cut through to thicker card. I used an old Amazon envelope which was a little fibrous and needed a very sharp blade to stop the edges snagging. I taped the print out onto the card (using washi tape) and carefully cut around the outline creating a thin blade line into the envelope. I then had to recut through the envelope cut line to cut al the way through.

It worked well but, I would suggest using an easier card if you can. It might even work with some forms of plastic.
When you’re finished you’ll end up with with two head shapes. Both of which can be used!

You’ll notice that the head template has some additional lines on the neck are. This is so you can have an angled neckline if preferred.
Mix The Paper Mache Powder
Next it’s time to check the splatter paint is dry and make up the paper mache powder. Paper mache powder is very dusty but it’s easy to do. Just make sure kids are wearing a mask when they mix it up.
Generally, it’s 3 scoops of powder to 1 scoop of warm water. But I find I often have to add a little more water to get the correct consistency.
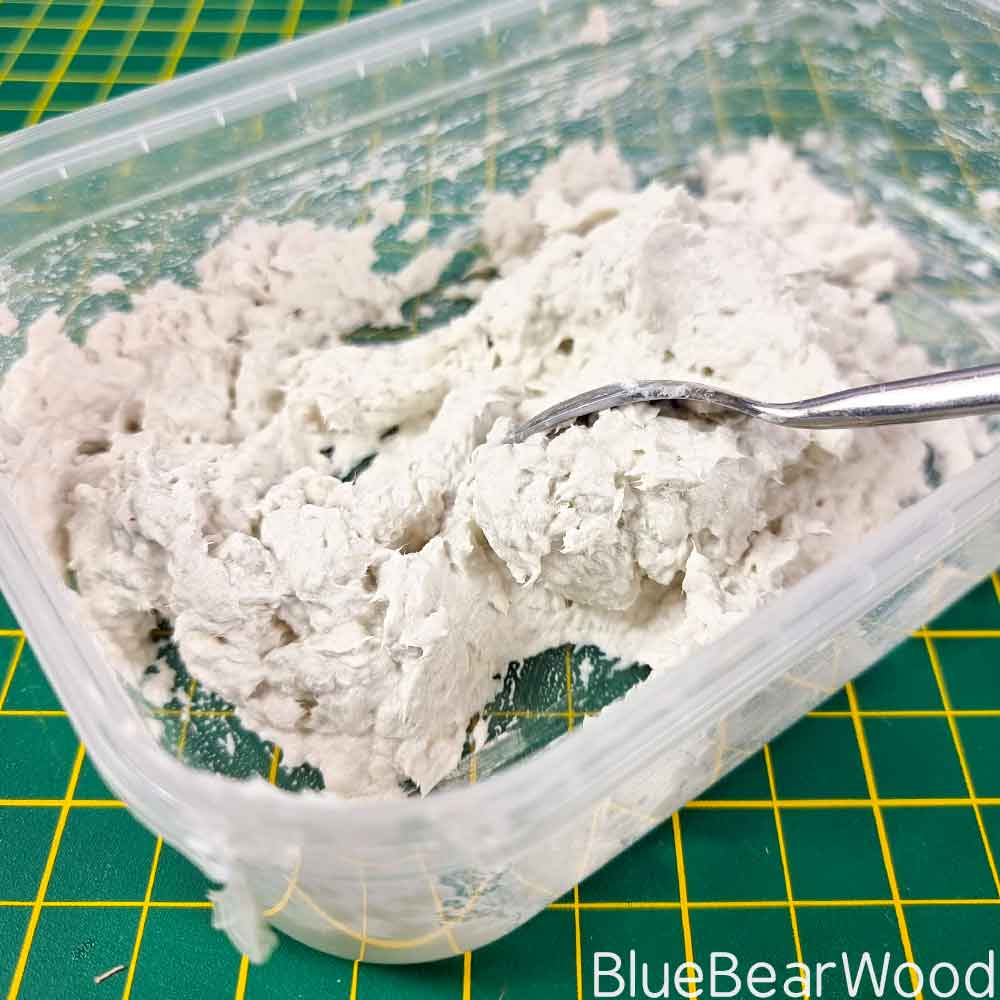
Mix it up in a container with a lid as any unused paste will keep.
Using Your Head Silhouette Template To Apply The Paper Mache Paste
There are two ways to use the head template cutouts. But whichever way you do you need to position the inner head template on your canvas board to determine where you want the head positioned.

Once You have positioned the head you can use one of two methods.
Draw Around Inner Head Template
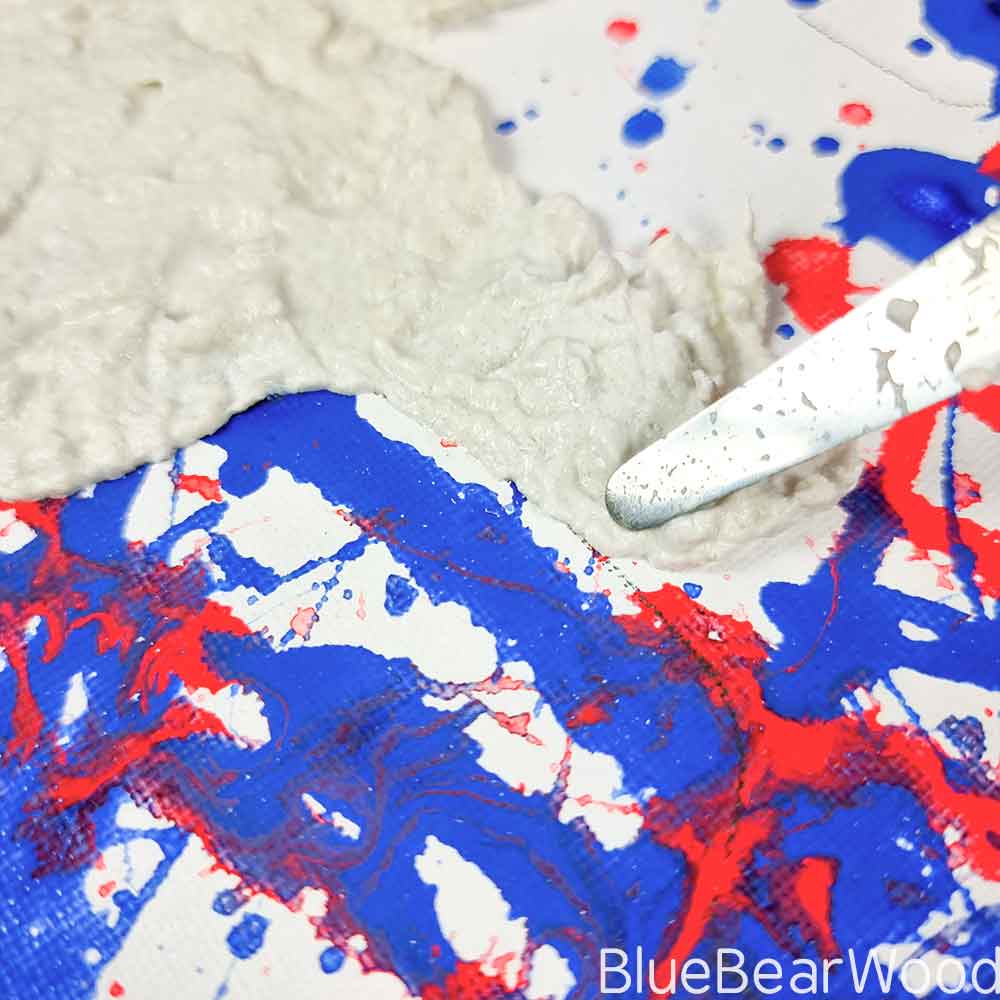
The first method uses the inner head shape as a template to draw around to draw around on the canvas.
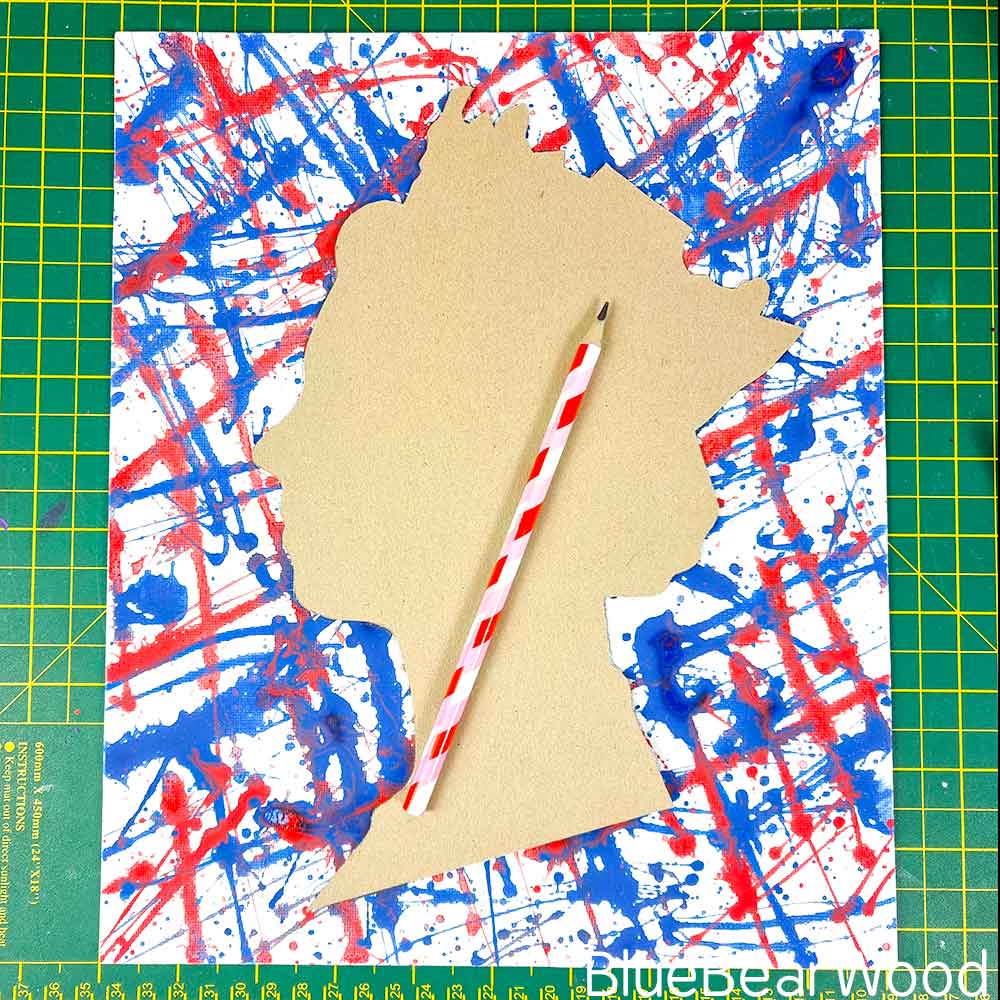
Then using a spatula, wooden spoon, flat end paintbrush, teaspoon etc, carefully fill in the head shape with a thin layer of paper mache paste. Take it slowly, adding a spoonful at a time to your board, and being extra careful around the edges.
Using The Outer Head Silhouette Template
Once you’ve worked out where you want the Queens Head Silhouette to be positioned on your board canvas, carefully place the outer template around the inner template and washi tape it into place.
Then remove the inner head template.
Now carefully fill the head shape with paper mache paste. You may need to weight down/hold down the inside edges of the cardboard if they start to lift up.
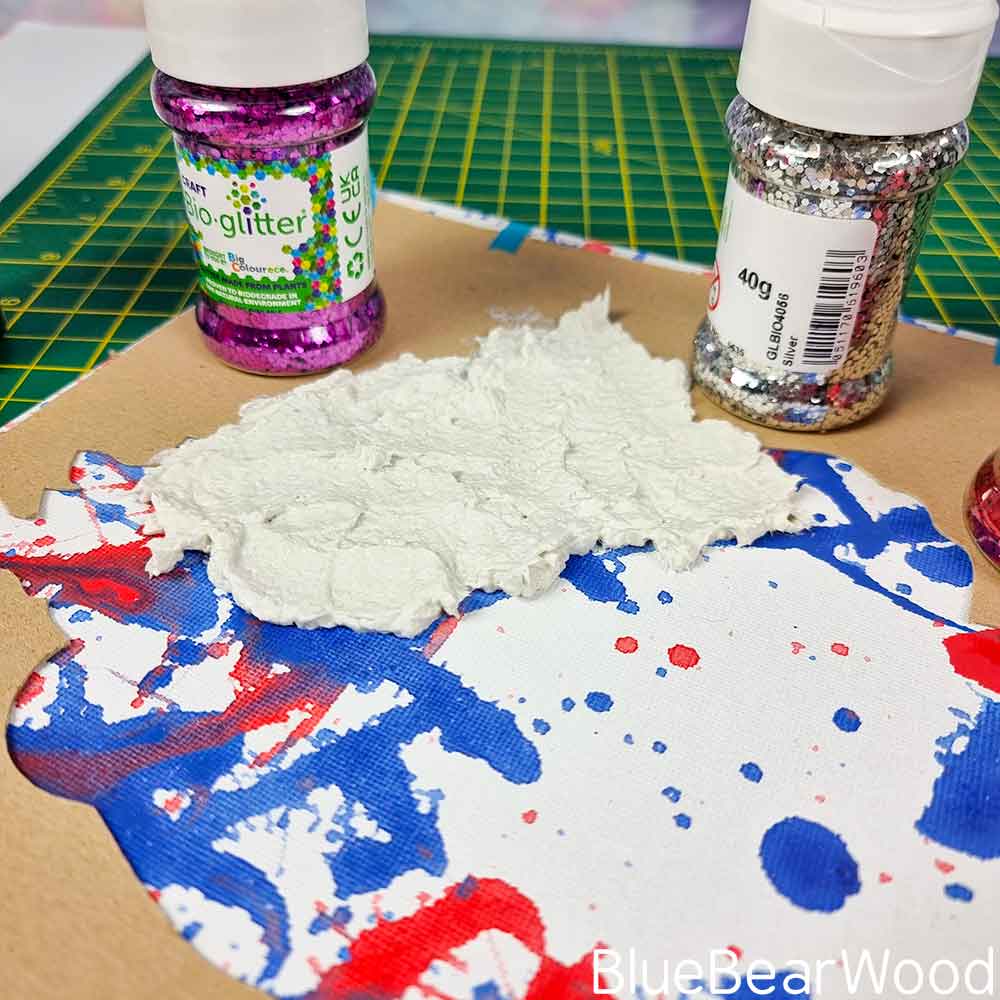
Once the whole area is covered I like to brush the paper mache paste off the cardboard into the center area to create a neater less fibrous edging.
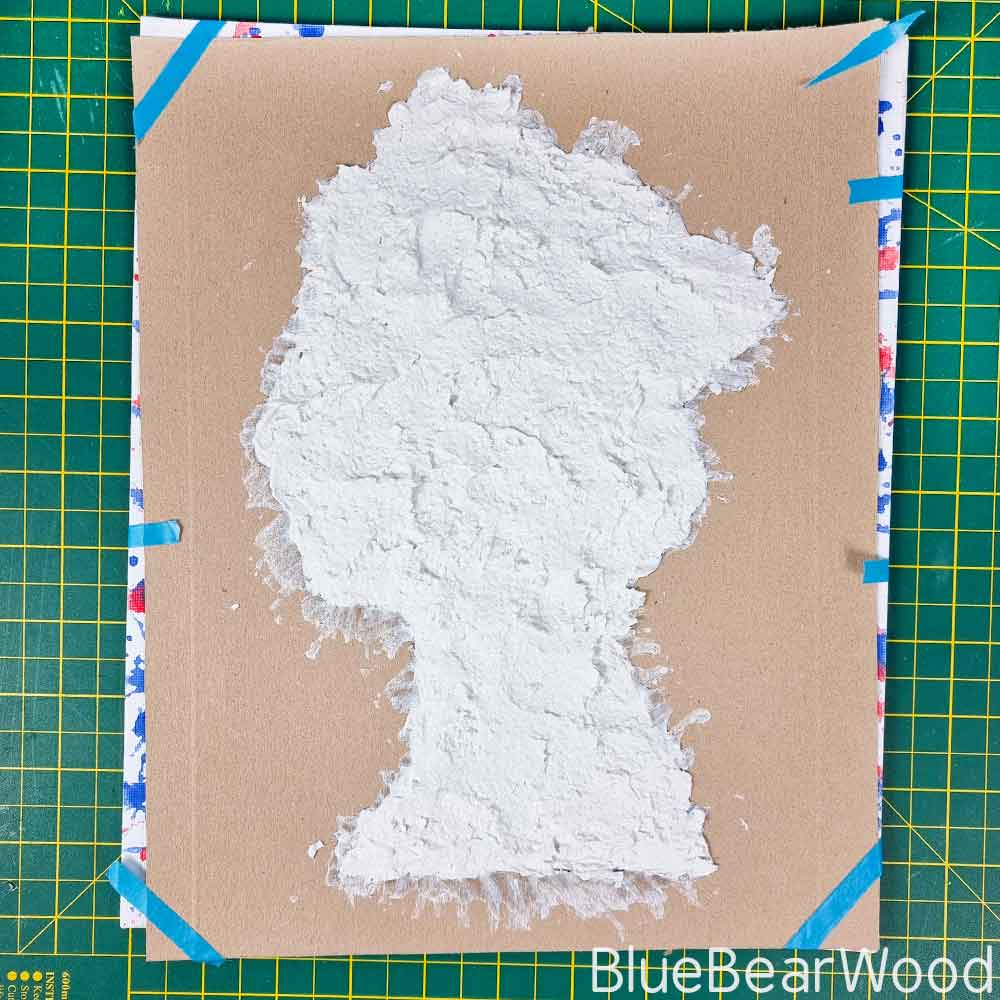
Once the space completely covered, carefully remove the outer template. This should leave you with a complete paper mache quenns head silhouette.
It’s very easy to touch up the edges of your paper mache silhouette which ever method you use and you can also add more paper mache paste after it’s dried if you need to build any areas up.
Just be aware that you may get a slight pale white outline if you remove any paste.
Drying The Paper Mache Paste Sihouette
Once your happy with the result leave to dry for 24 to 48 hours!
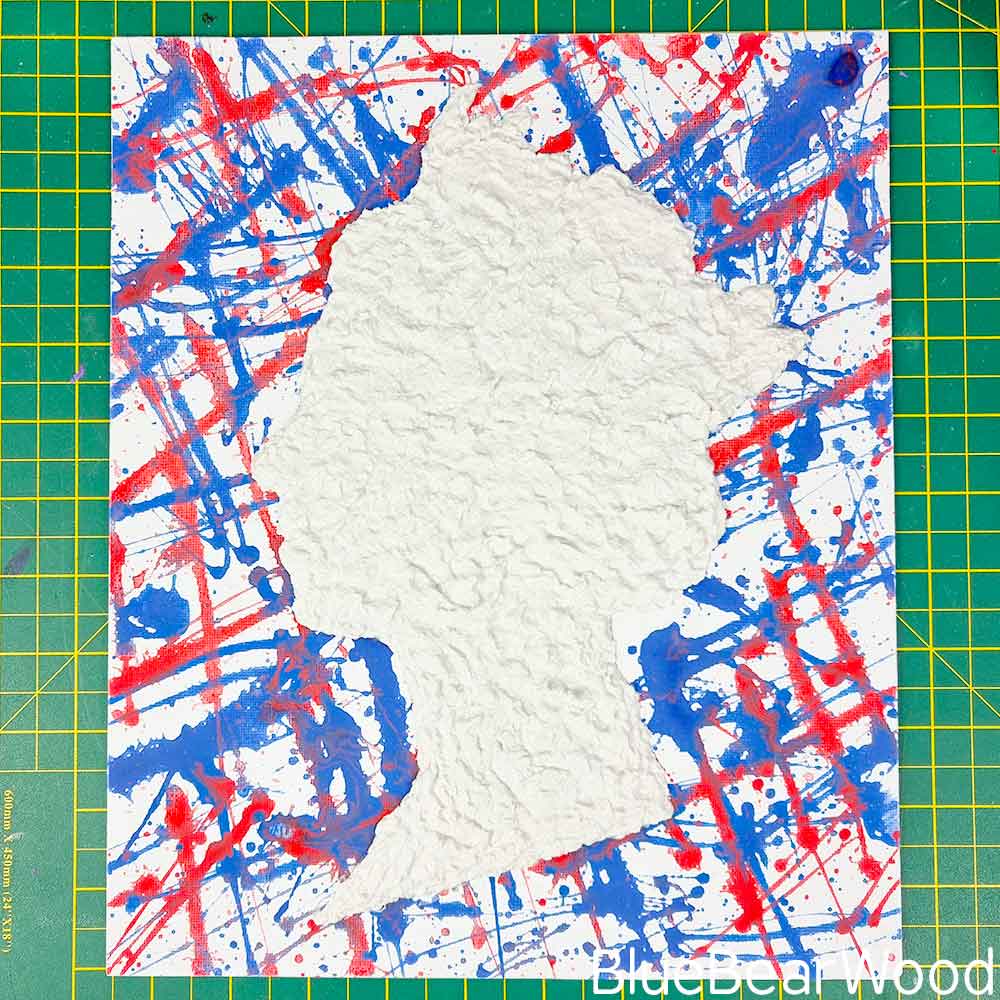
It’s important to weight down the corners of your board whilst it’s drying as the corners will curl up. The bottles of paint are deal for this just make sure they are clean and dry so they don;t spoil the splatter paint background!
Painting Your Queen Elizabeth Silhouette For The Platinum Jubilee
The Colours for the Queens Platinum Jubilee are purple and silver.
As long as you’re using ready mix water based paint you don;t need to wait for the paper mache paste to totally dry before painting. It just needs to be firm to the touch.
First paint the whole silhouette in purple and leave to dry (make sure you weight those corners!). Apply a second coat if you necessary.
Once dry you can then use the silver paint to mark out the crown. I really like The Big Colour Co Silver paint as it has a clear gel like consistency that creates a lovely silver wash rather than a solid silver block of colour. The gel also wets the underneath purple paint which means you can mix it in creating a fabulous purple tinged silver to the finish.
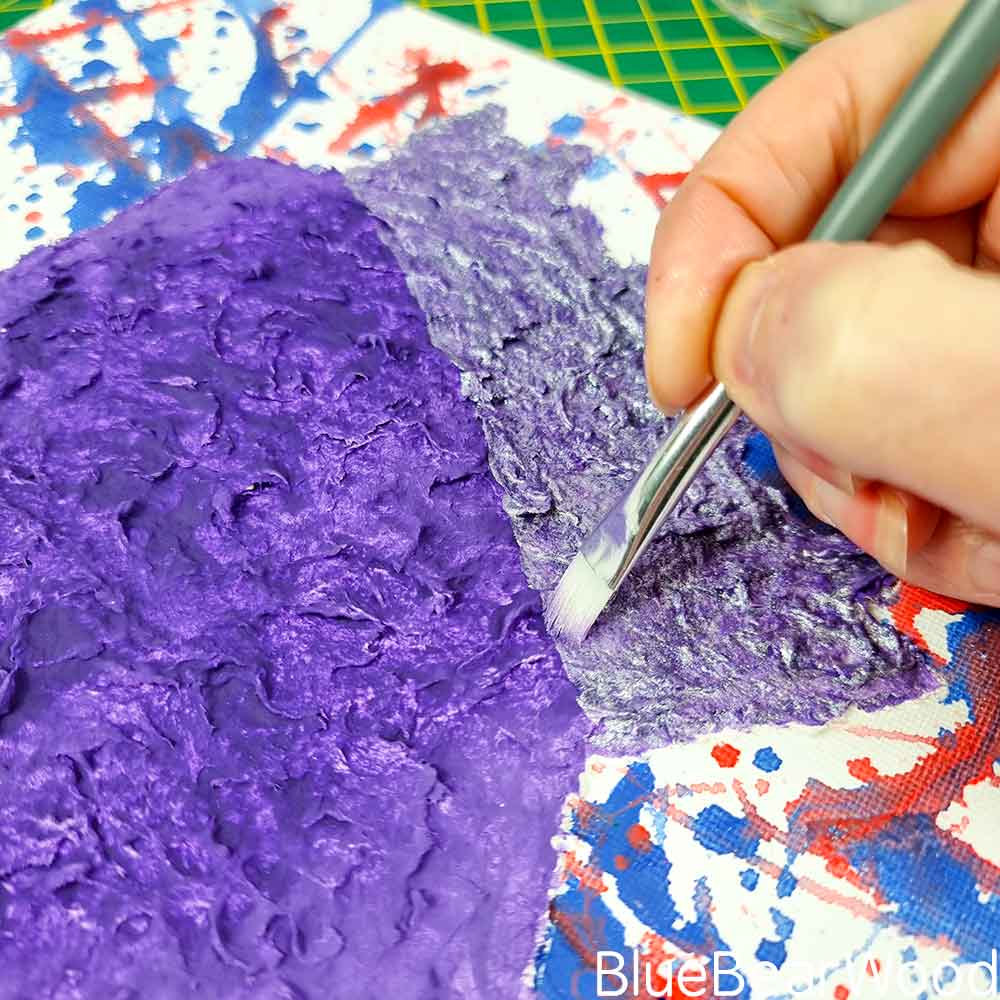
When the silver has dried (this shouldn’t take long and you could use a hair dryer to speed it up) go back in and add some purple detail to the crown to give it some depth. There are plenty of images you can use on google as reference… Queen Elizabeth Stamp Profile

I use this point as an opportunity to touch up the purple paint elsewhere.
Adding Glitter To The Crown
When all the paint has dried add some glitter! To give the effect of diamonds on the crown, use the wooden end of a paintbrush (the end that has no hairs). Dip the end into some white glue and dot it all over the dried silver crown.
Then sprinkle eco glitter over the crown. Wait a few seconds then pour the excess glitter onto some clean paper (grease proof paper is perfect for collecting glitter but you can use any paper). Use a dry paintbrush to carefully brush any excess glitter that attaches itself to the purple. Wait for it to dry and your done!
More Jubilee Craft Ideas
For more Jubilee Craft ideas head over to the following blogs.
- BlueBearWood – DIY Crown T-Shirt
- In The Playroom – Easy Cardboard Crown With Template
- Mum In The Mad House – Jubilee Colouring Pages
Leave a Reply