Looking for a fun and easy Halloween treat that both kids and adults will enjoy? These Easy Halloween Chocolate Spoon Heads are the perfect choice! They are not only simple to make but also customizable with various decorations. In this guide, I’ll walk you through the steps to create these spooky and delicious treats.
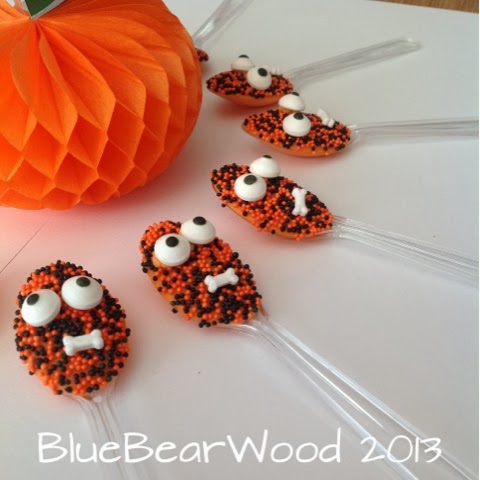
Ingredients and Supplies You’ll Need
Before you get started, gather the following ingredients and supplies:
- Chocolate or Candy Melts (white, orange or green)
- Halloween Sprinkles (various colors and shapes)
- Candy Eyes
- Candy Bones
- Plastic Spoons
More Fun Spooky Halloween Crafts
We have lots of fun Halloween activities, crafts and makes on BlueBearWood. Whe’s got you covered for Halloween decor, Halloween costumes, party food, and even Halloween beauty!


Step-by-Step Instructions
1. Melting the Candy Melts
If you own a microwave, you can easily melt your chocolate or candy melts according to the package instructions. However, if you don’t have a microwave (like me), don’t worry! Here’s an alternative method:
- Set up a Double Boiler: Boil some water in a saucepan and place a heatproof bowl on top. The steam from the boiling water will gently heat the bowl.
- Melt the Chocolate or Candy Melt: Add the chocolate/candy melts to the heated bowl. While the instructions typically suggest removing the pan from the heat, I find that keeping the heat on helps the mixture stay smooth. If the mixture gets a bit thick and claggy you can add a small amount of vegetable lard (such as Trex) to thin it out.
2. Filling the Spoons
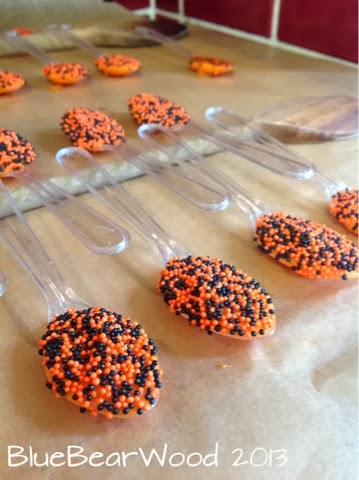
- Fill the Spoons: Carefully fill each plastic spoon with the melted chocolate of candy melt mix. Allow them to cool slightly. The candy should still be soft but firm enough that it doesn’t spill out.
- Level the Spoons: To ensure the chocolate or candy melt stays level in the spoon as it cools, prop the spoon handles off the counter (I find the handles of wooden spoons areperfect for this). This will keep the mixture flat and evenly distributed.
3. Decorating the Spoons
- Add Sprinkles: While the candy is still slightly soft, sprinkle a base layer of your favorite sprinkles over the top. This will be the background for your spooky decorations.
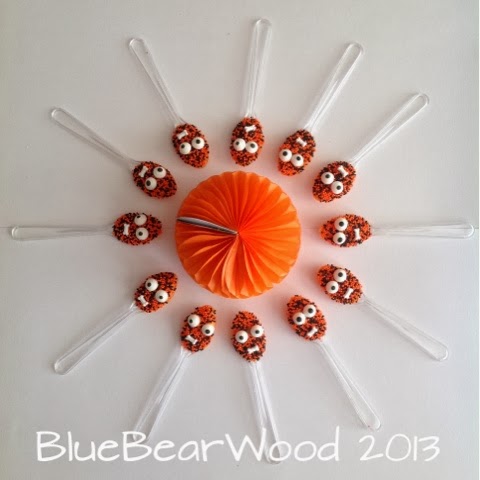
- Create Faces: Once the candy has set a bit more, use spare melted candy (or edible glue or jam) to attach candy eyes and other decorations. A cocktail stick works great for precision when applying small details.
Finishing Touches
After everything has set completely, you have two options for serving:
- Leave Them on the Spoon: Serve the chocolate heads directly on the spoons for an easy-to-hold treat.
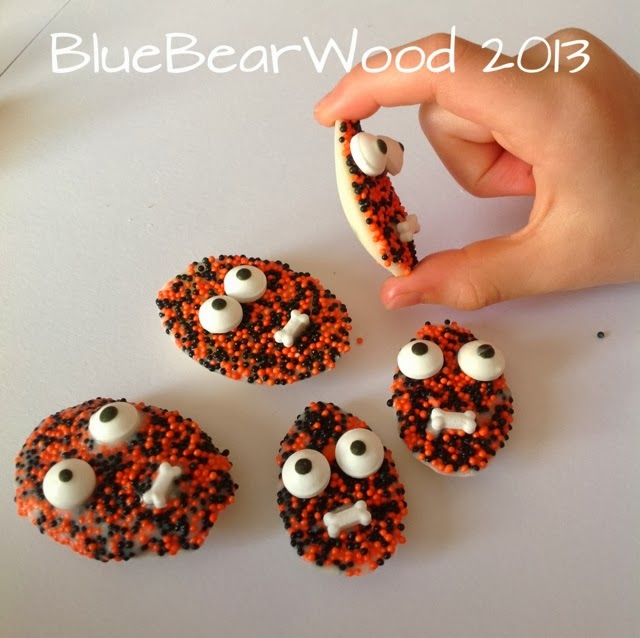
- Remove and Use as Decorations: Pop the chocolate heads out of the spoons for finger-sized oval treats. These can also be used as unique and fun cake decorations.
Tips For Halloween Chocolate Spoon Heads
- Work Quickly: Candy melts can set fast, so have all your sprinkle decorations laid out, ready to go, before you start.
- Experiment with Colors: Use different colored chocolate, candy melts and sprinkles to create a variety of Halloween characters.
- Storage: Store the chocolate heads in a cool, dry place until you’re ready to enjoy them.
Conclusion
Halloween Chocolate Spoon Heads are a fantastic way to get creative in the kitchen this spooky season. Whether you’re making them for a party or just for fun, they’re sure to be a hit with both kids and adults. Plus, they’re versatile enough to be customized in countless ways. Happy Halloween, and enjoy your sweet creations!
My boys think these look like the greatest thing ever – they spotted them on my laptop from across the room…. 😀
These look fab and giving me idea’s for Christmas 🙂
What a great idea they look fantastic!