• Skip to primary navigation
  • Skip to main content
  • Skip to primary sidebar
  • Skip to footer

Blue Bear Wood

Crafts, Stationery & Creative Living — discover ideas, tools and products for creative projects

  • Home
  • Family
    • Education
      • Kids Science
    • Family Fun
      • Blue Bear Cubs
      • Kids Talk
    • Family Health
    • Halloween
  • Food bites
    • baking
    • Dessert
    • Fruit
    • Lavender
    • pasta
    • Quick Bites
    • vegetarian
  • LIFESTYLE
    • Beauty
    • DIY
    • Gifts
    • Home Interiors
  • Crafts
    • Craft Material
      • Felt Crafts
      • Glitter
      • Pipe Cleaners
      • Paper Crafts
    • DIY Beauty
    • Nature Crafts
      • Leaves & Flowers
      • Seeds
      • Shells
      • Stones
    • Seasonal
      • Autumn
      • Christmas Crafts
      • Easter
      • Halloween
      • Spring
      • Summer
      • Valentines
      • Winter Crafts
    • Upcycled Crafts
      • Bottle Tops
      • Boxes
      • Cardboard
      • Clothes
  • Cricut Crafts
  • Printables
  • Stationery
  • Product Reviews
    • Books
    • Craft Kits
    • Music
    • toys
  • About
    • Privacy & Disclosure

Lolly Stick Frame Part 2 – Glitter

Glitter Variation 

  • 4 plain lolly sticks (you can buy them or just keep the sticks from your kiddies ice lollies. Washed of course!)
  • Glue
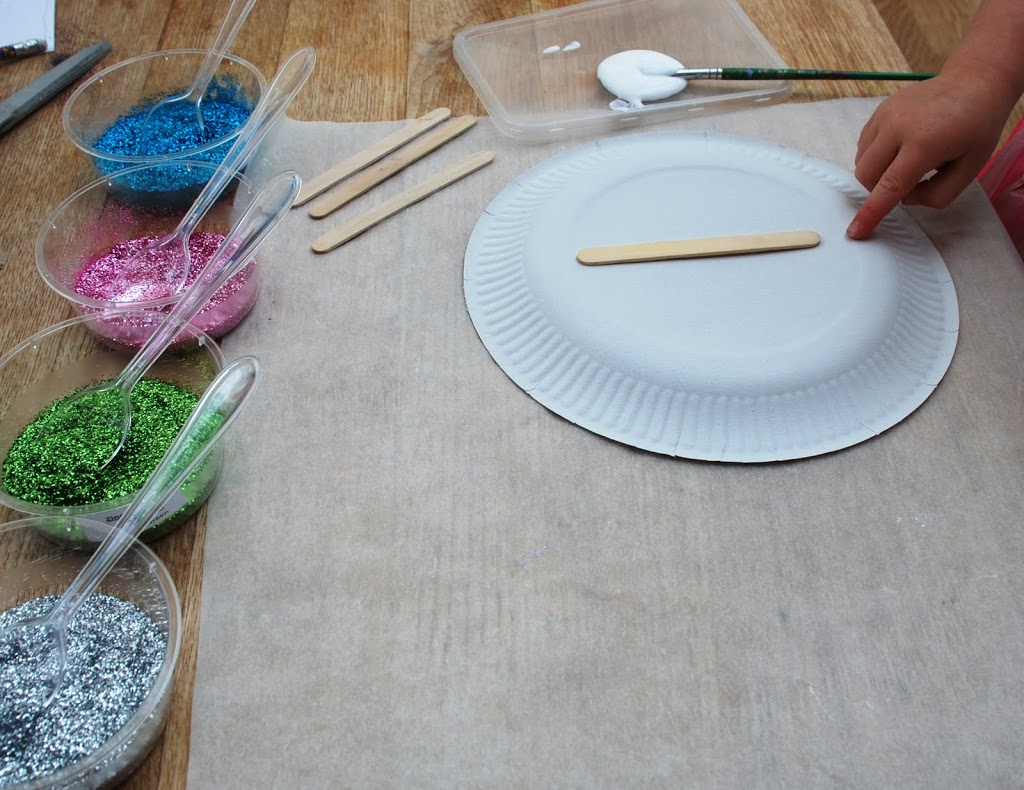
  • Glitter (in bowls with a spoon)

Okay, so why have I got a paper plate and some greaseproof paper/baking parchment in the picture? I find that greaseproof paper is fantastic for using with glitter as it slides of more easily than cartridge paper or newspaper. I’m also a fan of using paper plates when we’re making. They’re like my disposable art trays although they can often be reused to make things with as later.

1. Spread glue over one of your lolly sticks. I often have to help remove some of the generous helpings of glue that the girls put on!
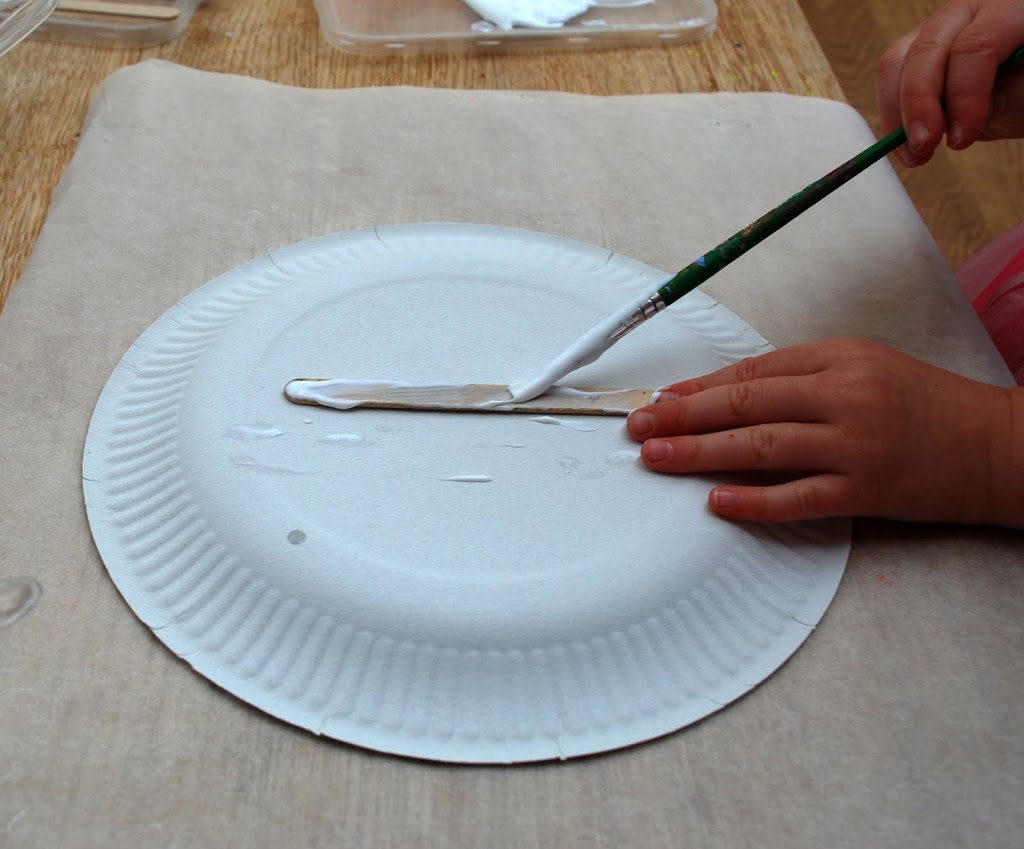
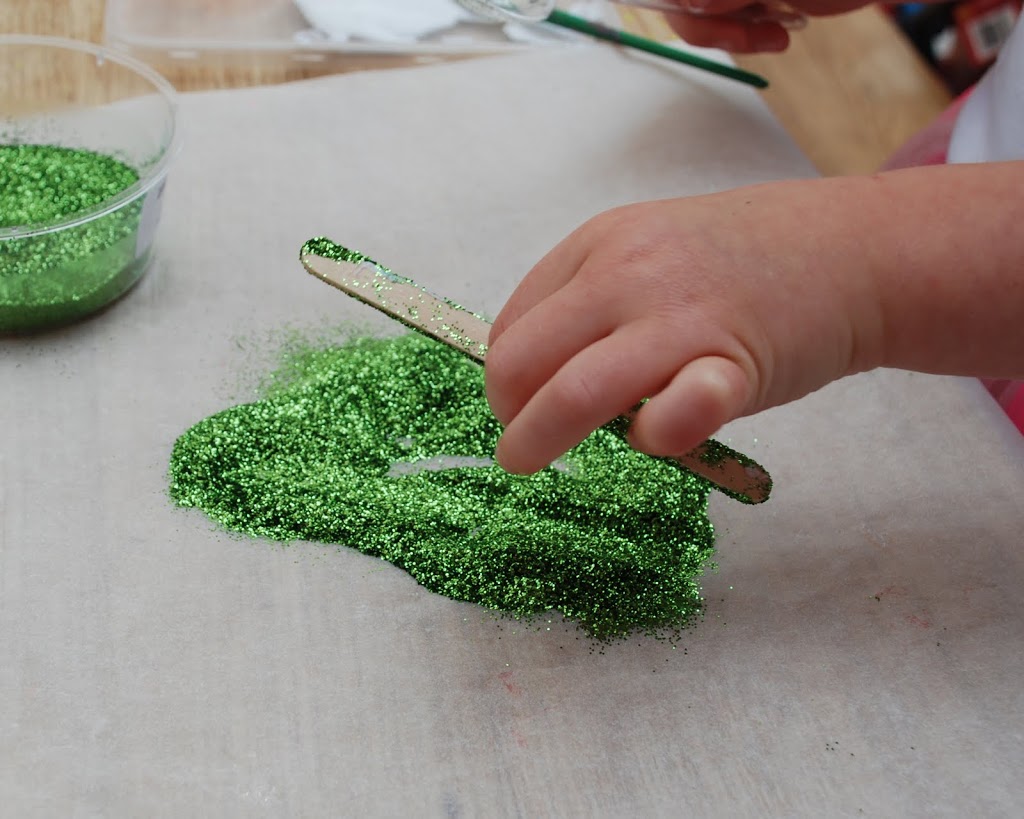
2. Put the lolly stick carefully on the greaseproof paper and cover with glitter.
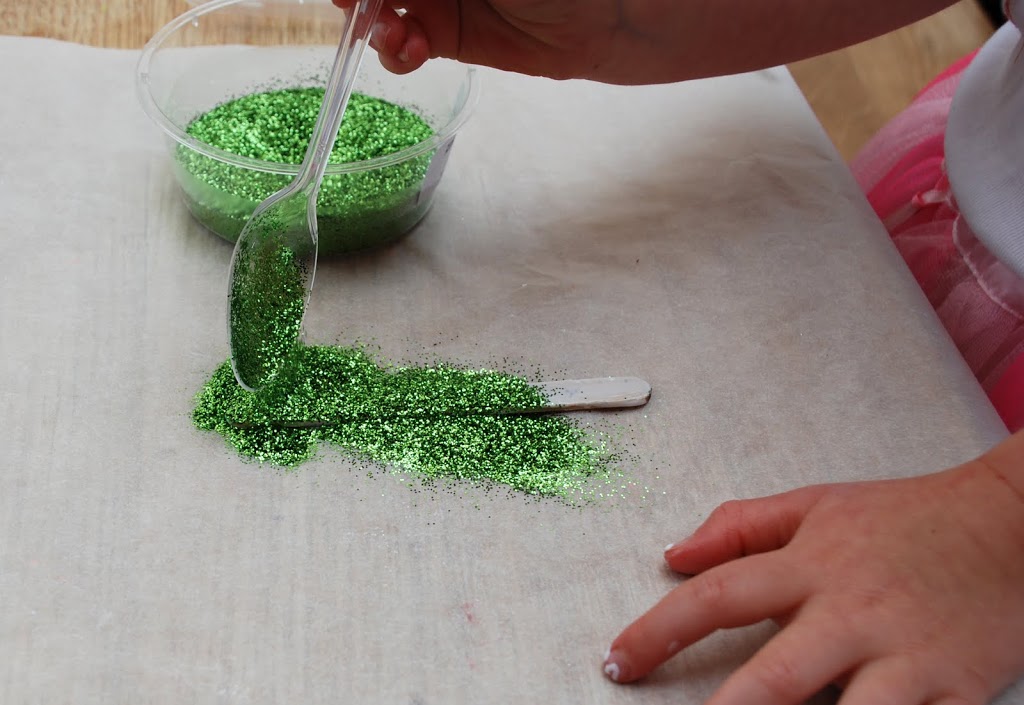
3. Use the spoon to flip the lolly stick over and pat down into the glitter to get a good covering.
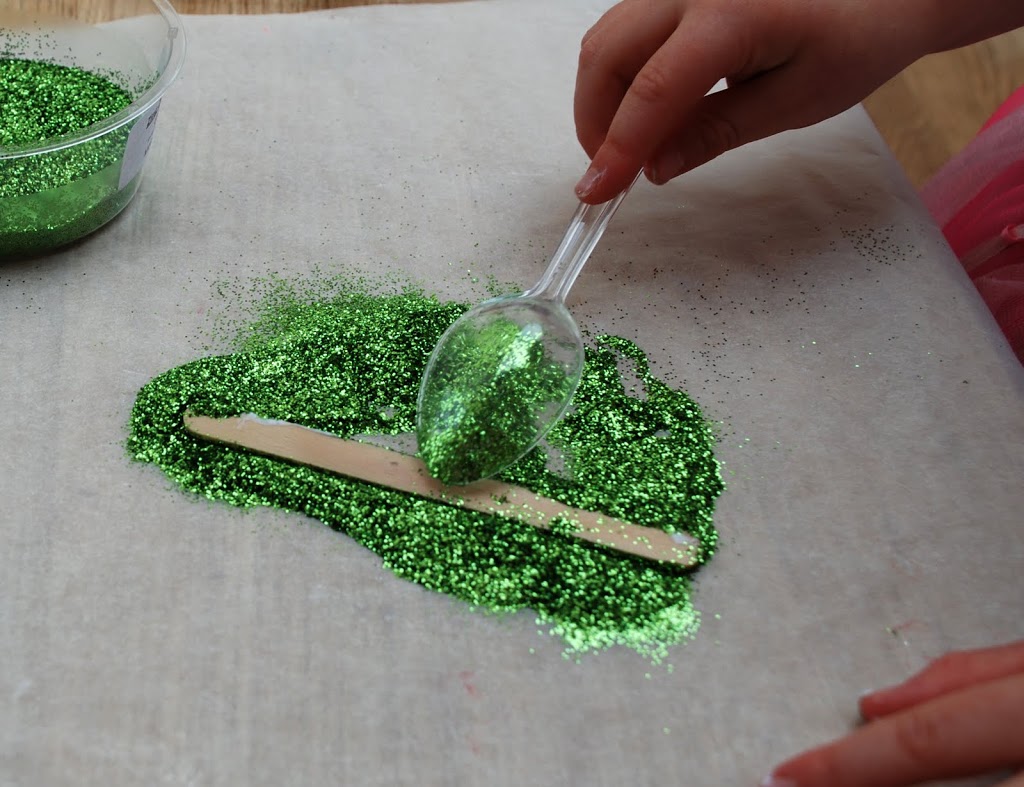
4. Carefully pick up the lolly stick stick and put it somewhere safe to dry. Repeat the proccess with the other lolly sticks.
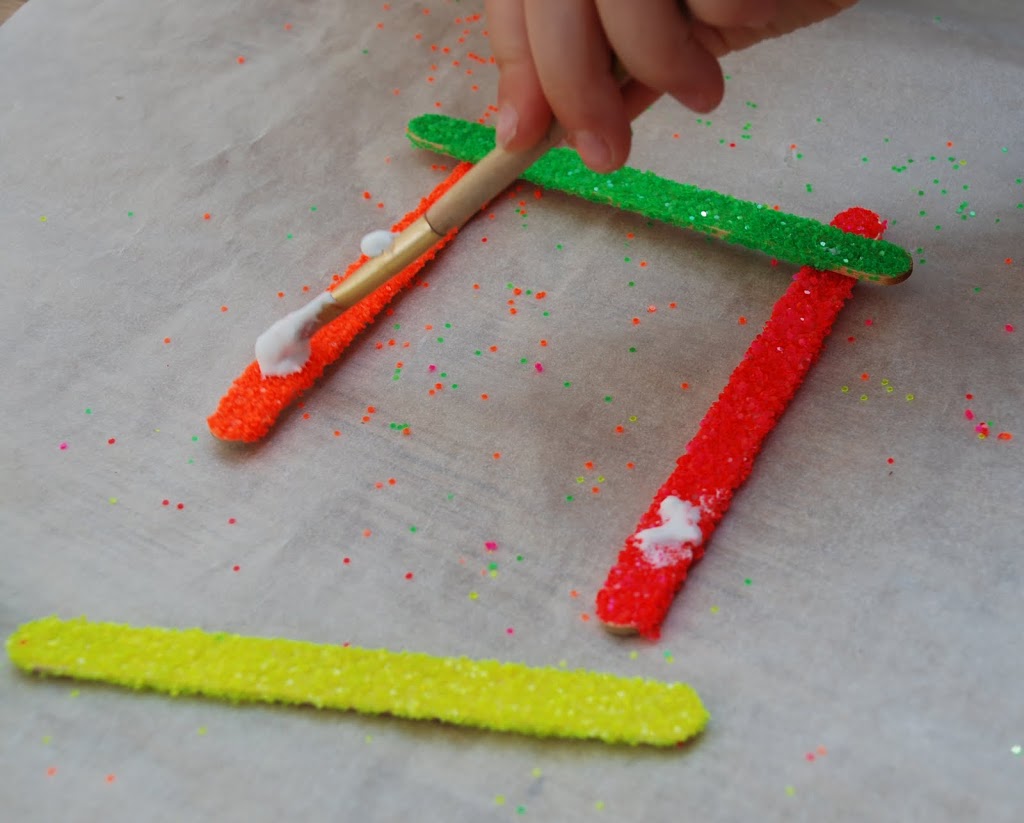
5. Take two lolly sticks and make a train track. Put a blob of glue at the end of each train track and glue the other two lolly sticks on top to make a square. Please excuse the colour change in the chaos of doing both girls I didn’t take a complete set of pics.
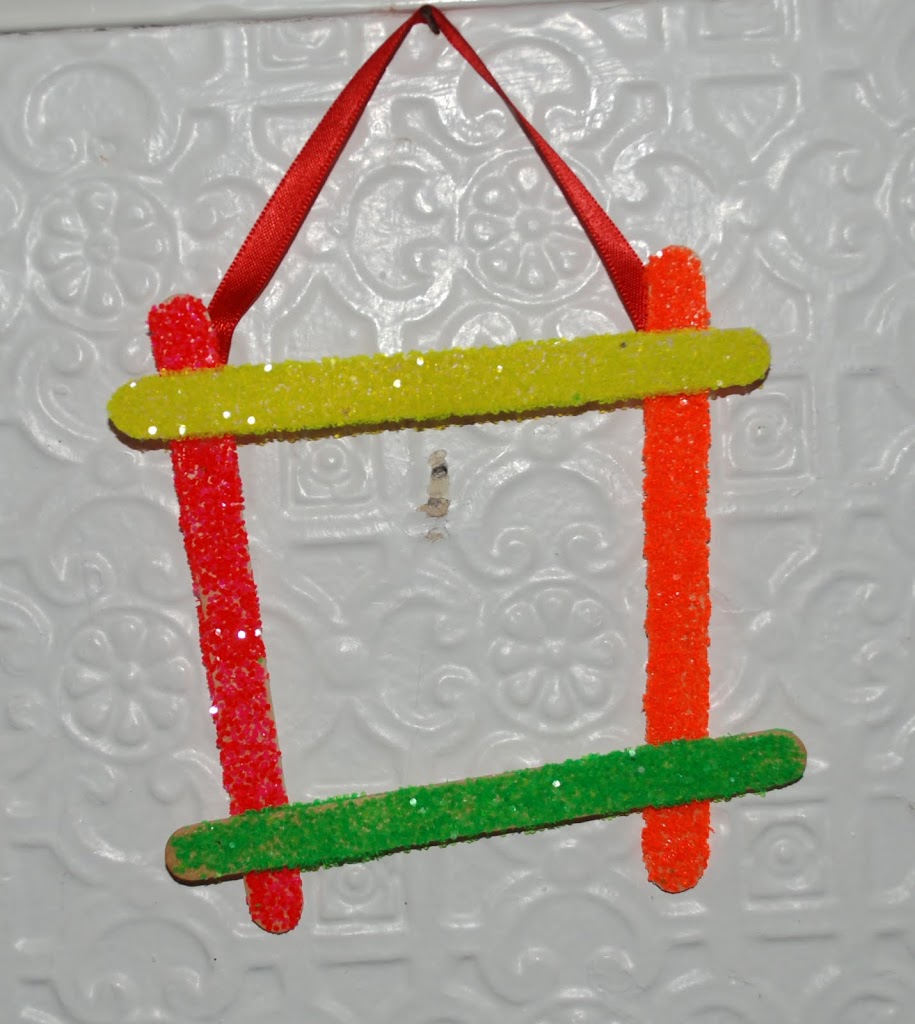
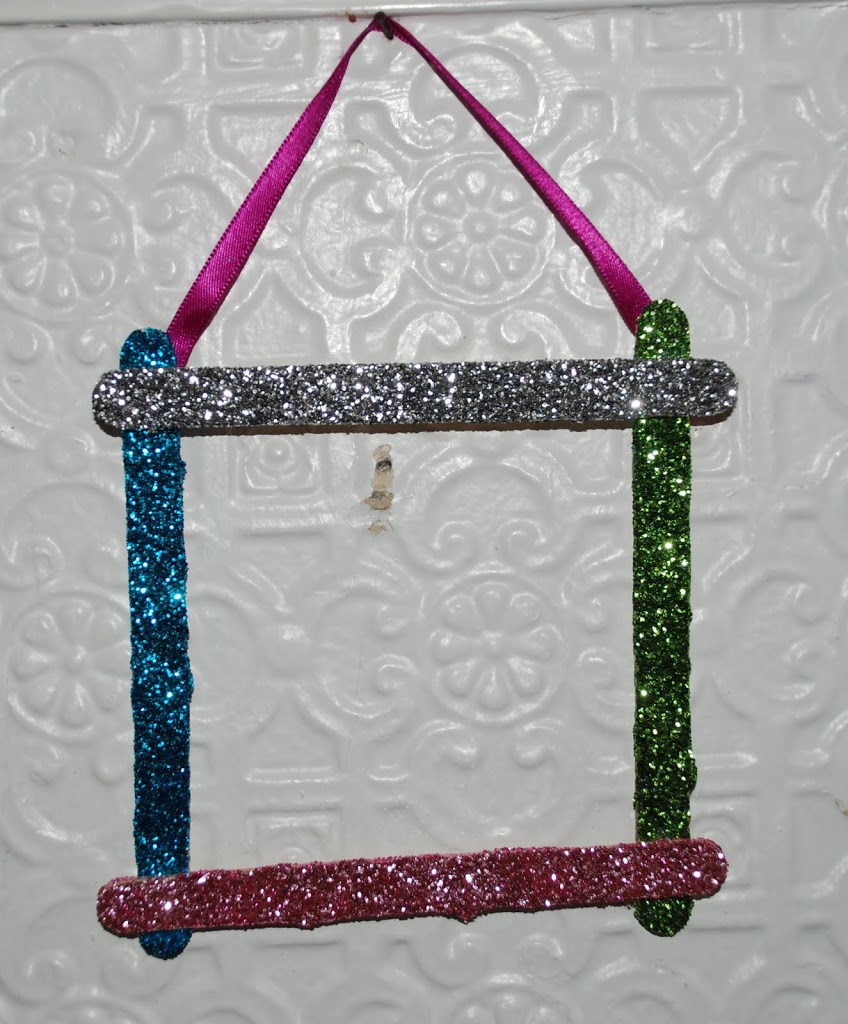
6. Glue ribon on the back and there you have it. Sparkly frames!
xxx

Filed Under: Uncategorized

Previous Post: « Happy Cake Day!
Next Post: Let’s start at the very beginning … »

Reader Interactions

Leave a Reply Cancel reply

Your email address will not be published. Required fields are marked *

Recipe Rating


Primary Sidebar

Vuelio Top 10 Vuelio Top 10

LATEST POSTS

  • Ocean Crafts for Kids (Fun & Creative Sea-Themed Ideas)
  • Free Valentine’s Letter Tracing Worksheets (A–Z Printable Pack)
  • The Best Stationery Gifts For Students In 2026
  • The Best Stationery Advent Calendars For 2026
  • DIY Mother’s Day Heart Card – Free Printable

Categories

Footer

  • Welcome to BlueBearWood – Celebrating Creative Family Lifestyle
  • Privacy And Disclosure

Copyright © 2026 · Foodie Pro Theme on Genesis Framework · WordPress · Log in