Our Singing Angel Christmas Decorations are one of the first decorations that get put up on the 1st December. They sit there on out fire place mantel watching as the rest of the room takes shape. I love the simple purity of them. They look great on shelves, tables, mantles and depending on the size of your Christmas tree can go on the top in place of a fairy.
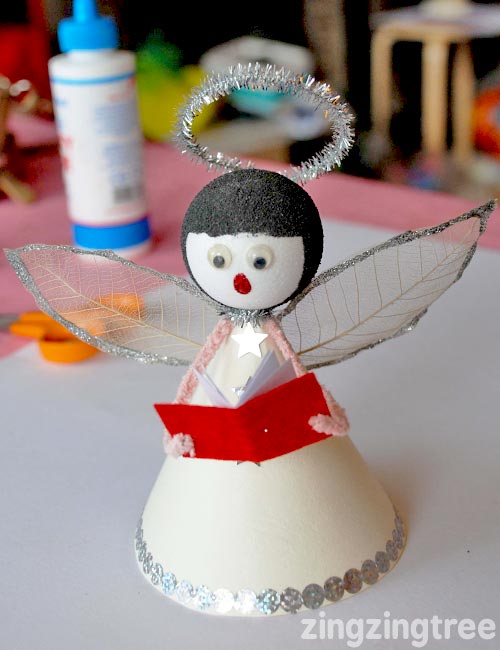
To Make A Singing Angel Christmas Decoration You Will Need
- A4 card,
- trim for edge of cone (I used Dazzle Dots),
- pale pink natural cotton pipe cleaners,
- 4cm polystyrene ball,
- black craft sand,
- skeleton leaves,
- tinsel pipe cleaners,
- googly eyes,
- glitter gel,
- pva glue,
- felt off cuts,
- white paper.
Useful bits …
Circle template ( I used a large pastry cutter), plastic needle, large metal needle, scissors
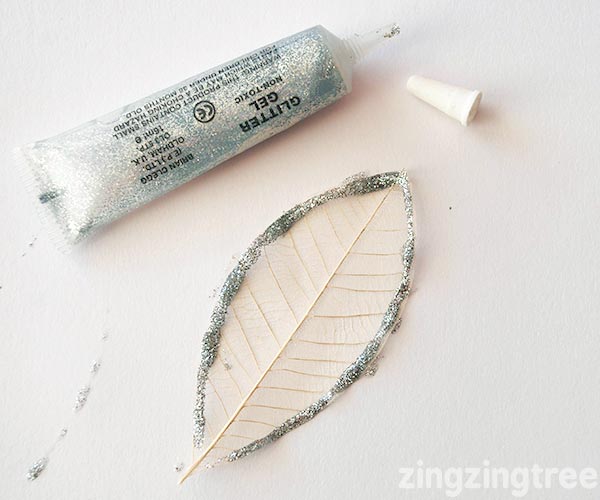
1. Take 2 large natural skeleton leaves and carefully run a line of glitter gel around the edge. Put to the side to dry.
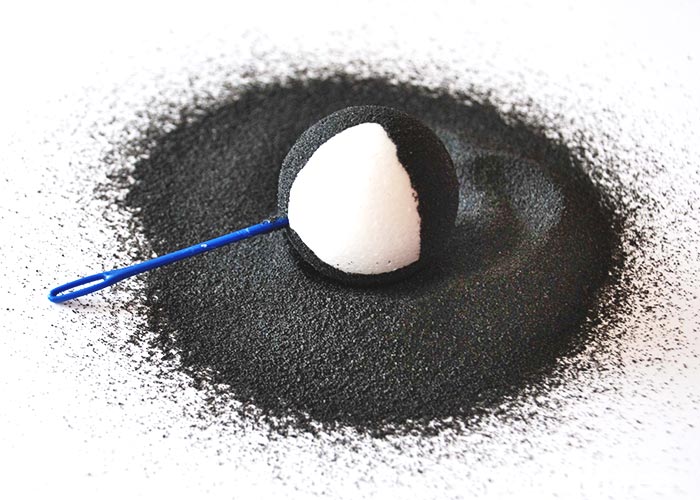
2. Insert a plastic needle into the bottom of a 4 cm polystyrene ball and carefully paint your hair outline over it with pva glue. Cover with black craft sand and put to one side to dry.
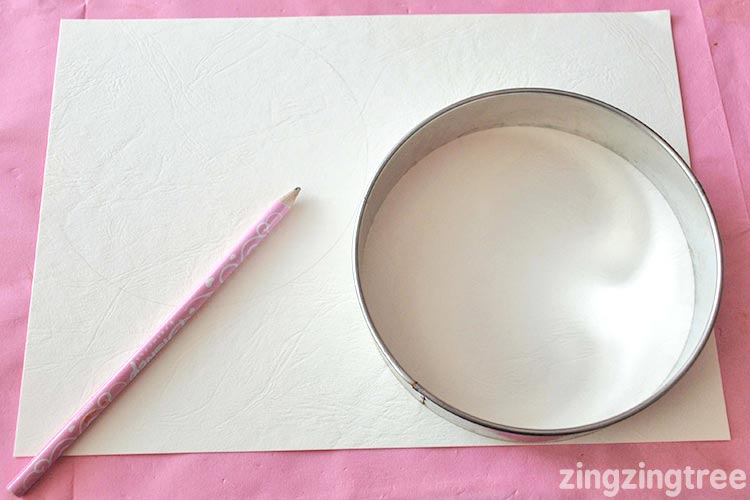
3. Draw and cut your circle out of the card and then neatly cut the circle in half.
4. If you are using a flat trim such as dazzle dots stick them down to the curved edge of the semicircle before making the cone. If you are using a pipe cleaner trim of something like chenille ribbon then glue this in place after the cone has been formed.
5. Carefully bend the cone into shape starting at the bottom and hold in place using sticky foam squares or double-sided sticky tape.
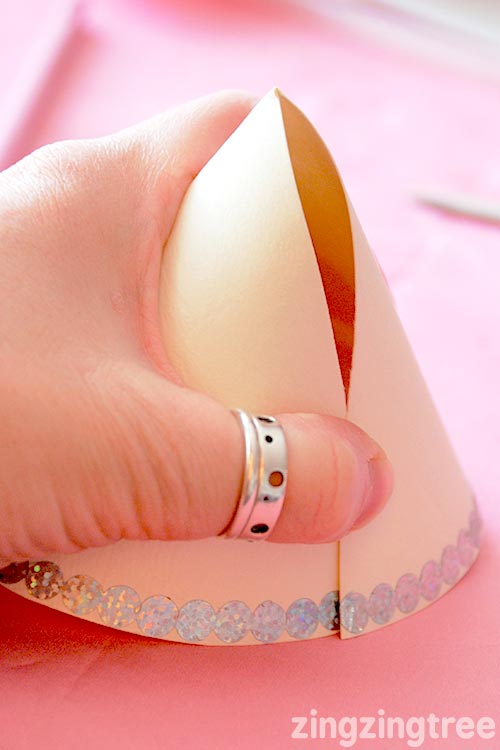
6. Make 2 holes either side of the top of the cone for the pipe cleaner arms to go into. I find this easiest to do with a large metal needle.

7. using some sharp scissors make a hole in the bottom of the head large enough to fit over the top point of the cone and glue into place. Leave to dry.
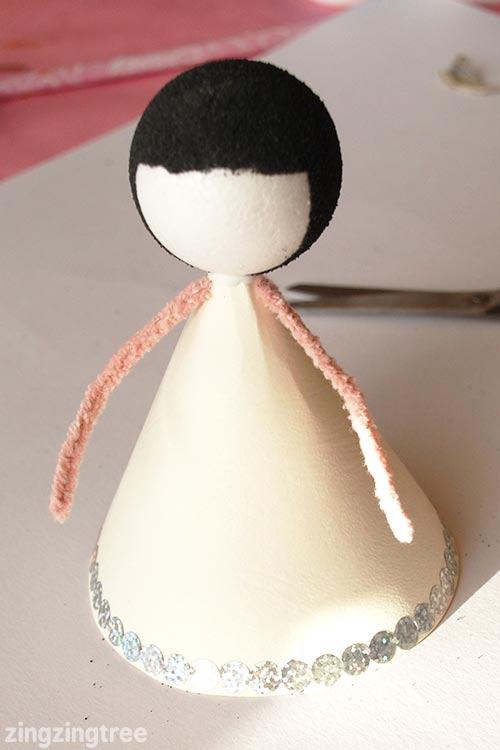
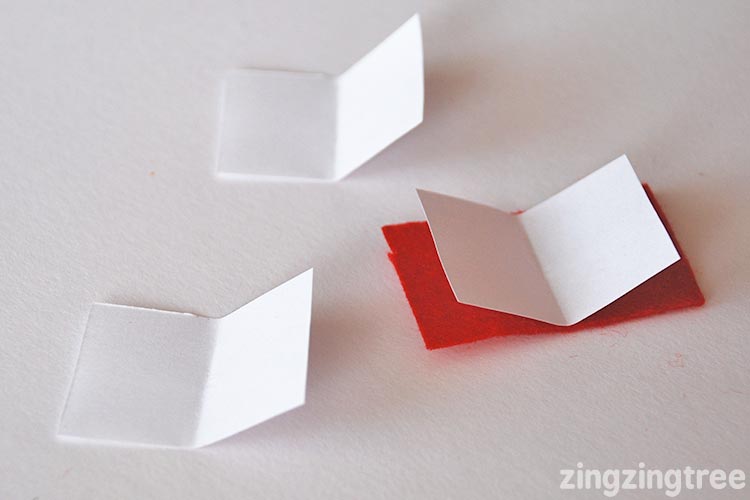
8. Make a book using a scrap of felt and paper.
9. Take a 30cm silver tinsel pipe cleaner and wrap it around the neck and it bend up behind the head and form into a circular halo at the top. Trim if necessary.
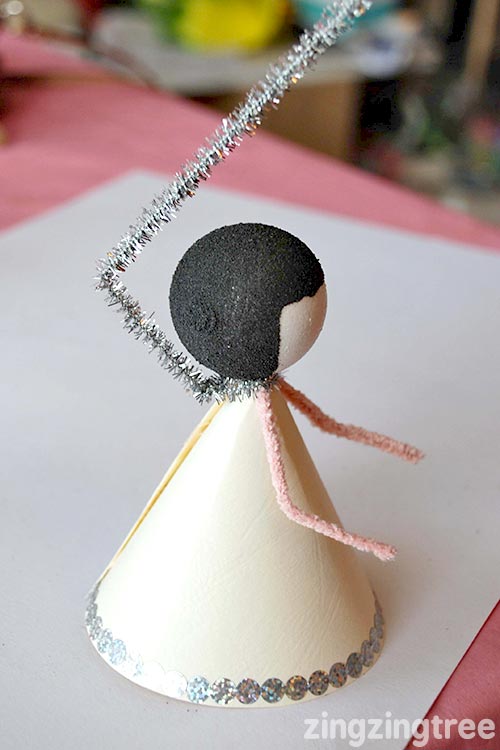
10. Add googly eyes , a mouth (I used glitter gel – lay the head flat so it doesn’t run!) and some stars.
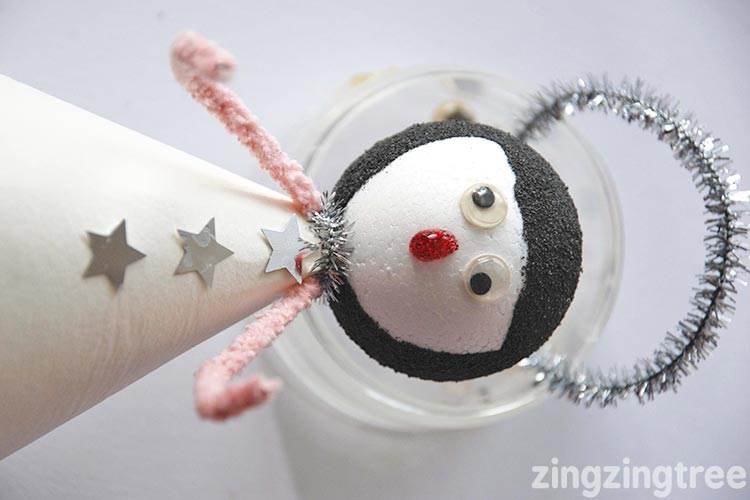
11. Glue the little felt book to the pipe cleaner hands.

12. Finally, glue the skeleton leaves together and attach to the back using Sticky foam pads.
Oh wow that is gorgeous. Off to pin. Thank you for sharing.
Oh wow that is gorgeous. Off to pin. Thank you for sharing.
Lovely! Particularly like those wings. Beautiful.
Thanks for sharing on Kids Get Crafty!
Maggy
Lovely! Particularly like those wings. Beautiful.
Thanks for sharing on Kids Get Crafty!
Maggy
Very cute! Thanks for sharing this fun Christmas craft!
Very cute! Thanks for sharing this fun Christmas craft!
beautifil! Found you through Kids Co-Op!
http://heymommychocolatemilk.blogspot.com/2012/11/moms-library-link-up-7-for-me.html
beautifil! Found you through Kids Co-Op!
http://heymommychocolatemilk.blogspot.com/2012/11/moms-library-link-up-7-for-me.html
Hi, I’m Anne from Life on the Funny Farm (http://annesfunnyfarm.blogspot.com), and I’m visiting from Fantabulous Friday.
Very cute! I love that you used leaves for the wings.
Anyway, thanks for posting this. If you’ve never visited yet, I hope you can pop by my blog sometime to say hi…
Hi, I’m Anne from Life on the Funny Farm (http://annesfunnyfarm.blogspot.com), and I’m visiting from Fantabulous Friday.
Very cute! I love that you used leaves for the wings.
Anyway, thanks for posting this. If you’ve never visited yet, I hope you can pop by my blog sometime to say hi…
So super cute! They look fun to make too.
Thanks so much for linking up at I Gotta Create! <3 Christina
So super cute! They look fun to make too.
Thanks so much for linking up at I Gotta Create! <3 Christina
So sweet!! Thank you for sharing at Sharing Saturday!!
So sweet!! Thank you for sharing at Sharing Saturday!!
Pinned this! such a great christmas craft to do with the kids
would love it if you share this on my link party @ http://www.serenityyou.com
Natasha xx
Pinned this! such a great christmas craft to do with the kids
would love it if you share this on my link party @ http://www.serenityyou.com
Natasha xx
So clever to think of those wings!
So clever to think of those wings!