The wonderful thing about these DIY Frosted Glass Jam Jar Luminaries is that they look beautiful no matter what time of day it is. The bright white sand gives clean fresh snowy decor during the day and at night changes to a warm frosting as the flames flicker behind it.
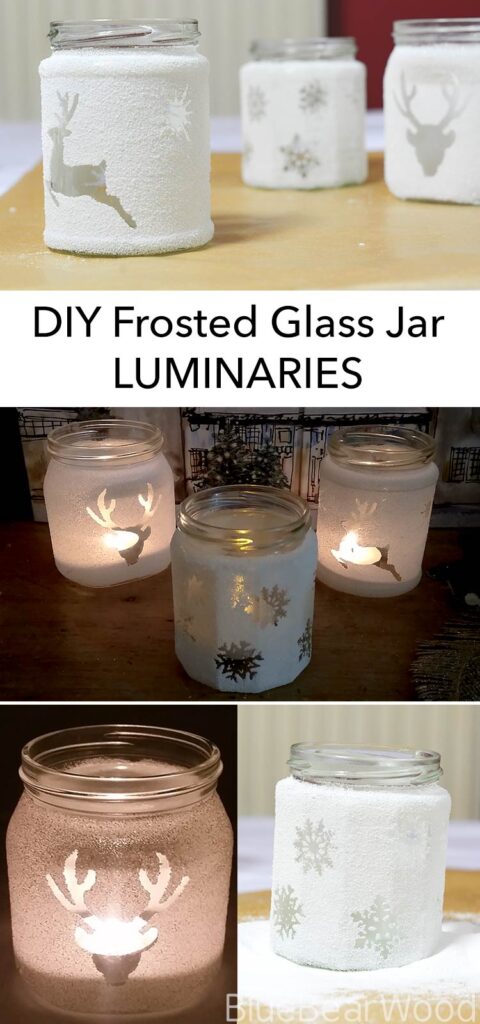
If You like these then you may also like my 3d Paper Snowflake, Glittery Snowmen, and Bottle Top Snowflake Decoration.


This post contains some affiliate links for your convenience (which means if you make a purchase after clicking a link I will earn a small commission but it won’t cost you a penny more)! As an Amazon Associate, I earn from qualifying purchases
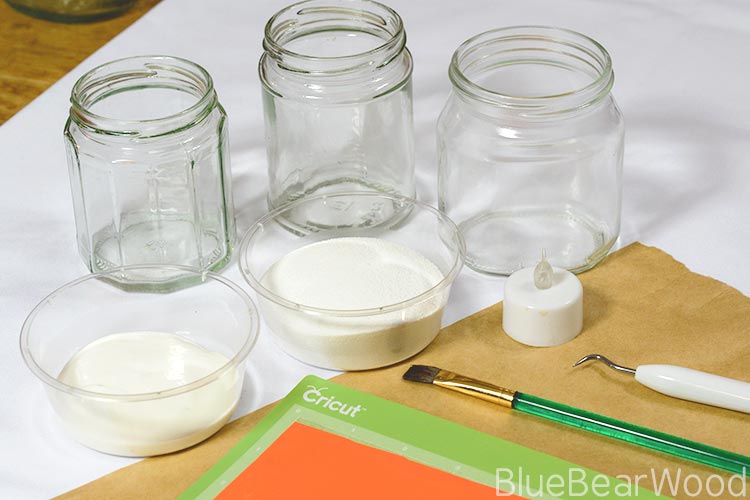
To Make Your DIY Frosted Jam Jar Luminaries You Will Need
- Empty jam jars
- White craft sand (UK Amazon / US Amazon)
- PVA/White glue (UK Amazon / US Amazon)
- Cricut Window cling (any colour will do – UK Amazon /US Amazon)
- Cricut Maker or Cricut Explore (you could cut simple shapes by hand – UK Amazon /US Amazon)
- Baking sheet to catch sand on
- Paint brush
- Weeder tool or a long pin will be fine (UK Amazon / US Amazon)
- Tea light (battery or flame – UK Amazon / US Amazon)
- Optional – very fine white sugar glitter
Cutting Out Your Cricut Window Cling In Design Space
Window cling is an amazingly versatile craft material because it can be used on so many surfaces and isn’t permanent. It’s perfect for making temporary stickers when you need to make silhouette shapes as it’s easy to peel off.
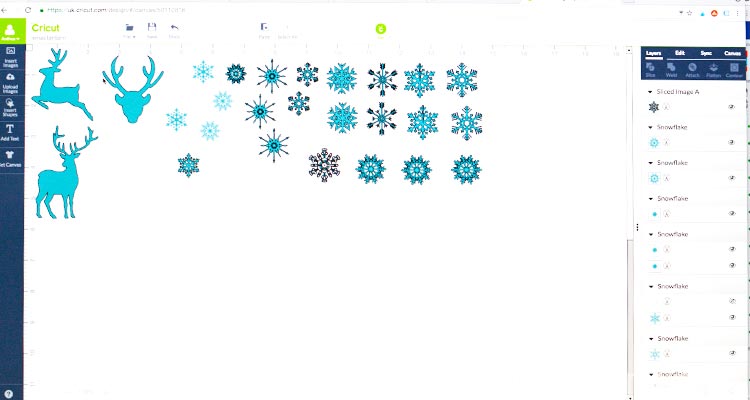
Using Cricut Design Space I selected some stags and snowflakes to cut out on my Cricut Explore. If you don’t have a Cricut Explore you could cut out some simpler shapes by hand. Once I’d selected my images I then went through each shape and made sure it was only one layer using the editing tool. So that they were all cut at the same time I synced all the shapes by dragging them not the same colour block (also found in the right had side editing tools).
When I went to cut them out I found I’d missed removing a couple of print shapes ( I didn’t want to print) so I just selected the cut page section on the left hand side (highlighted blue) and let the machine do its work
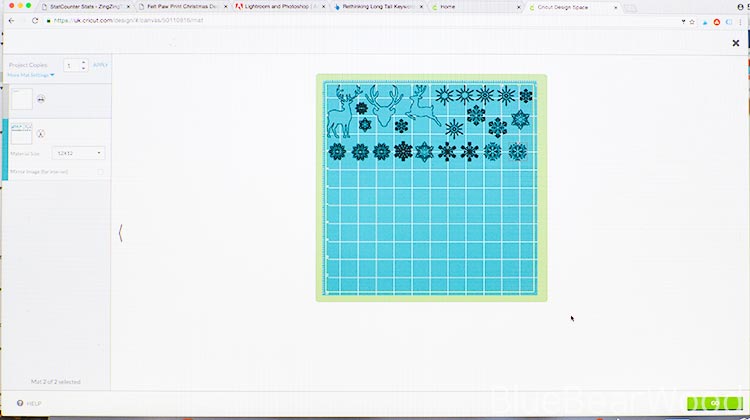
I shrank my snowflakes to 1 inch and 0.7 inch in size which worked fine. You can also use any colour window cling for this project as the shapes will be thrown away. I used an an orange window cling off cut that I had left over from Halloween as a bright colour shows well under the white sand but I’ve made these using white window cling before.
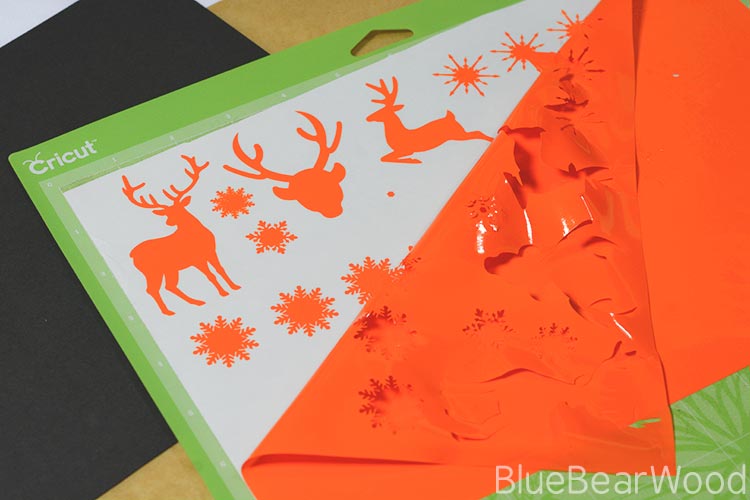
Making Your DIY Frosted Lumiairies
Once you’ve weeded your shapes off the mat (or cut them out by hand) stick them neatly, onto the glass jar. And make sure they sit smoothly on with no bubbles.
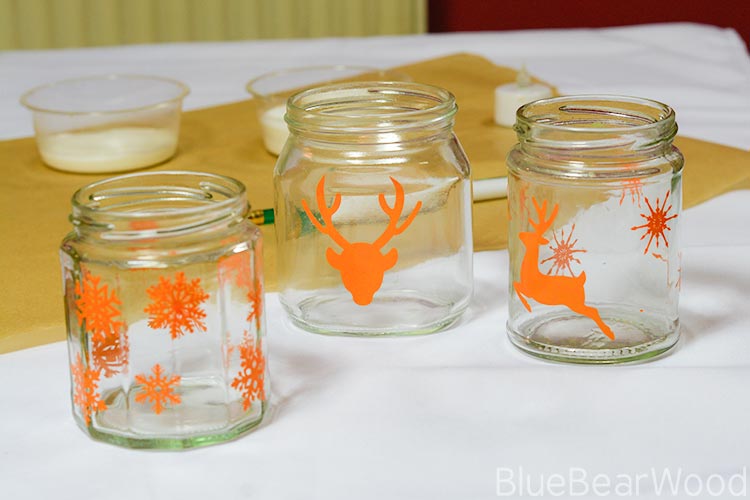
Now cover your glass and the window cling shape in a nice even layer of pva (white glue). You need to have a nice solid coating of the glue so that sand sticks to it.
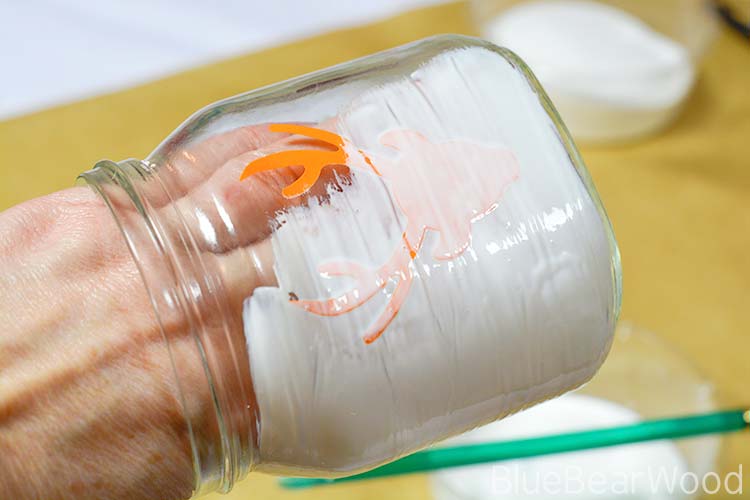
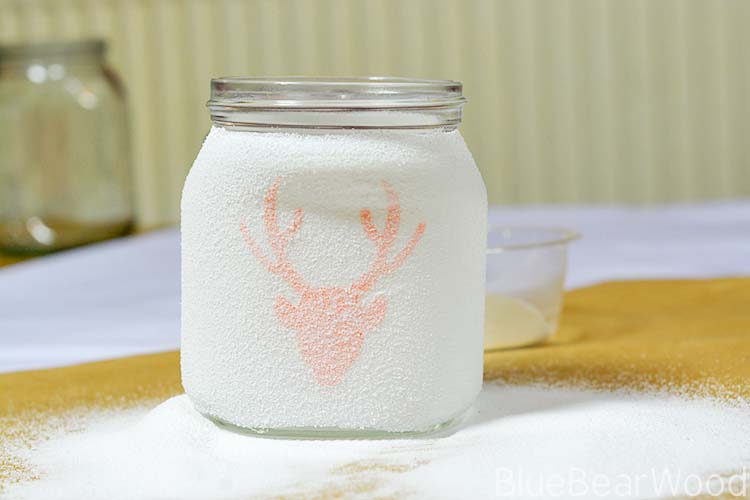
Next, put your hand in the jar and hold it over the baking paper. Then pour your white sand over the jar until the whole surface is covered.
Other Cricuit Craft Projects You May like Include Jellyfish T-shirt, Halloween Cake Stand and New Years Eve T-shirt.

Using a cricuit weeding tool or your long pin carefully place the point just inside the edge of the window cling shape and push inwards. This will lift up the edge and allow you to peel the shape off.
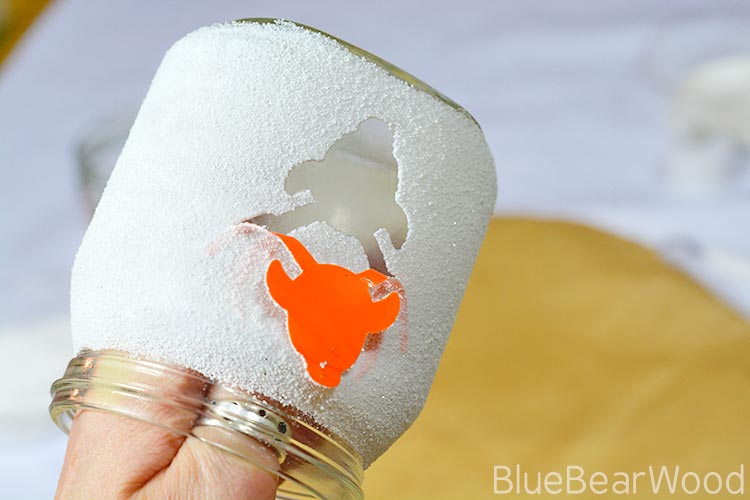
Continue carefully peeling off any all your window cling shapes.
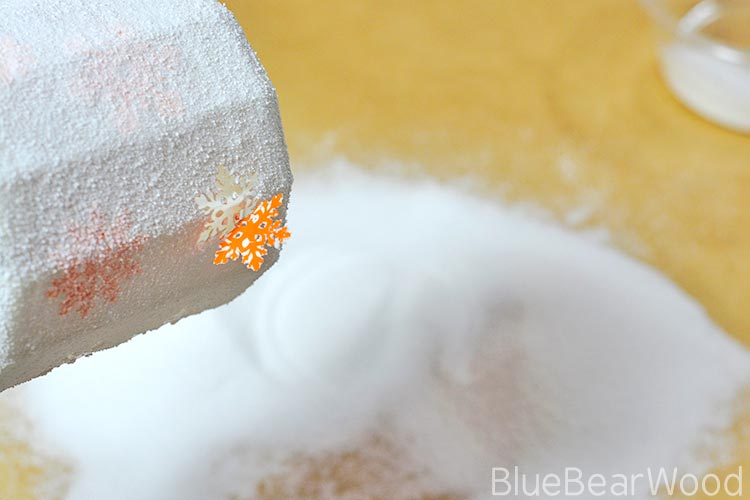

Leave your jasrs somewhere safe to dry for at least 24 hrs. A radiator works really well and also speeds up the drying process!
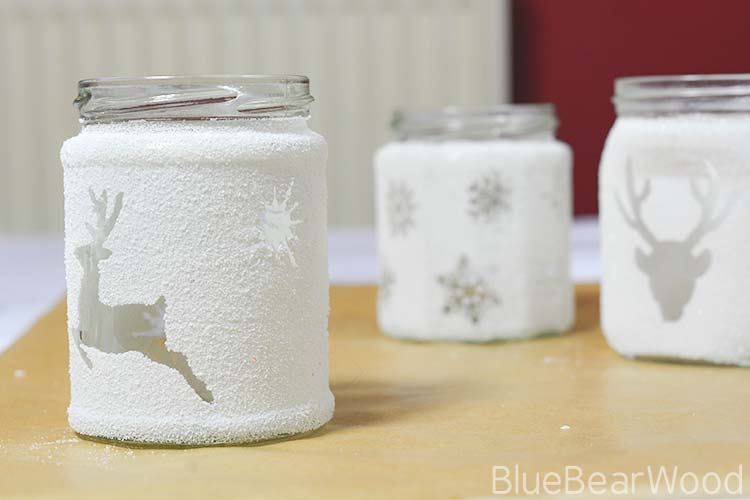
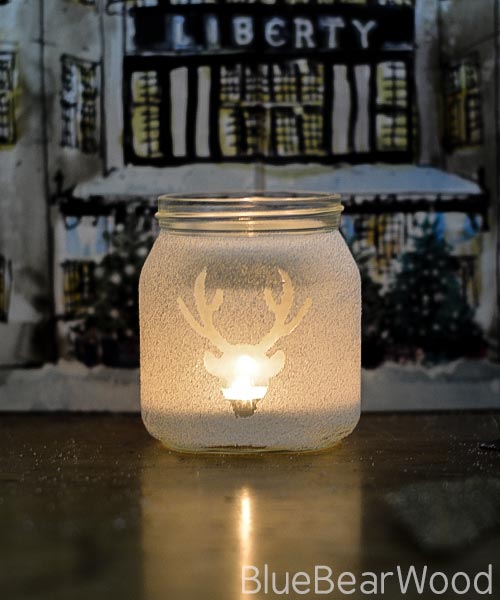
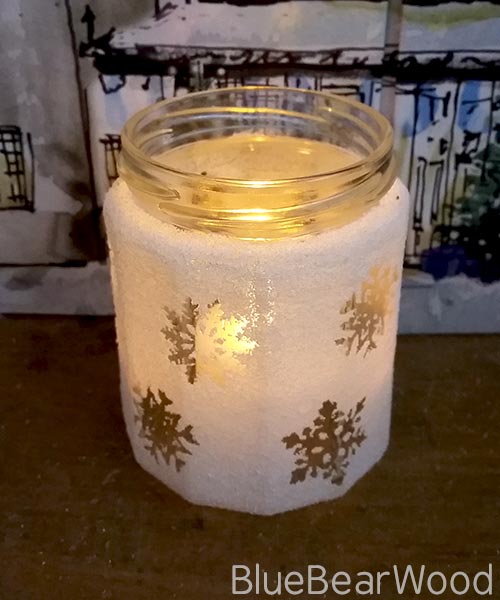
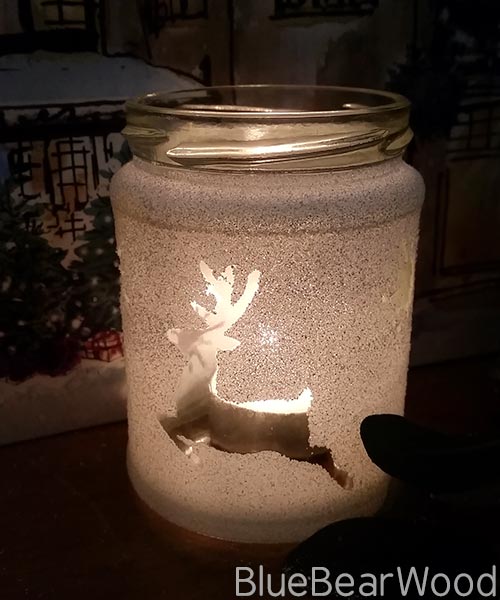
To change the design, soak them in hot water and you can wash the glue and sand away. Leaving you with a clean glass jar to start frosting all over again.
These are beautiful. If you used white window cling, you could reuse it on some more jars as they would look pretty with just the cling too
I love a bit of crafting! I will definitely be trying something similar out for spring as I have a ton of empty jars that could do with a makeover!
These look great and nice and wintery. Xmas may be over for 11 months, but i would still use these
This is so pretty and would be a lovely way of brightening up any room. So cute x
These are so cute and wintery – definitely bookmarking for next Christmas!
What a great idea, I love these I am definitely going to be trying these next christmas x
These are very pretty and you are very patient and creative! Could I pay you to make me some 😉 I always have crafty ideas but they never turn out this pretty!
Em
I love these, will have to try next holiday season, but hey why wait, I bet you could do outside firefly design or something for out door candles in any color, I see some great projects coming out of this one.
I’ve never heard of a circuit explore before!!!! MIND BLOWN! THAT IS SO COOL!!! I’m super into crafts so this is a game changer haha i’m going to put those stickers on everything and spray paint haha okay maybe not because of how much blogging I have to do, but this is awesome. Your jars look wonderful.
Oh wow what a lovley DIY, I have never done anything like this before I am definitely intrigued
These jars are wonderful. I’ve been meaning to make frosted jars for ages – I have so many ideas for Valentines and Easter. AM desperately hoping that this will be the year that I finally get a Cricut machine – Have heard that they are really good for cake decorating too.
Those look lovely, what a super idea. They would make great gifts and look pretty easy to make too which is a bonus.
Oh now these are cute! I love the patterns you used. The sand looks super nice with that glow.
These look so effective and very easy to make! I think they’d be a great craft with kids xxx
I did something similar this year – they were really fun and easy to make x
These are fantastic- I am definitely making them! You are so creative.
What a cute little DIY projects. This look so easy and effective to do. xx
I love these and I’ve always wanted to make some, maybe they can be a plan for the run up to christmas next year! I have pinned it for later!
this is such a great idea. i love how these look when lit up. ill have to try these and make it not christmasy
These are super cute and going to get the teens to try making these for me
I’m wanting to be more creative, so this looks like fun! Thanks for sharing, I will bookmark this to do 🙂 x
This is so clever! I can’t believe you made these yourself as they look like they could be from a shop. The sand detail is very clever, I never would’ve thought of that!
o wow these look so well made! I think I might make them for myself soon
Will bookmark and create these for next Christmas time! How cute!
What a lovely idea! These Frosted Glass Jam Jar Luminaries are gorgeous. We’d like to make the snowflake one and maybe out our initials on them x
OH MY GOD! these are amazing! must try it out with my son! he’s going to love making them!
These are so fun! I have to try these soon.
I was wondering how long it takes for the glue/sand to dry?
I left it to dry overnight but you can leave them on a radiator to dry which speeds the process up
What a cool idea. I’d never have thought of using sand.
It was actually not that hard. I’m 11 and it worked out quite nicely.
Thanks for your nice post I really like it and appreciate it.
Is there something I can finish this off with that it wouldn’t come off easily? I was going to use it to put the ingredients to make hot coco in it for a present.
Do some test patches first but you could probably use either a watered down white glue glaze (it wouldn’t be waterproof) or a matt acrylic varnish