This is a sponsored conversation written by me on behalf of Cricut. The opinions and text are all mine.
This amazing DIY Jellyfish T-Shirt looks complicated but is actually a lot easier than it looks… you just need time and a little patience!

One of my favourite thing to do with my Cricut Maker is to use iron on Vinyl to customise my girls’ T-shirts and Tops. It can turn an ordinary piece of clothing into something unique and cool. I’ve blogged a Cricut Customised Anchor T-shirt, Kids New Years Eve Mask T-Shirt and Diy Pumpkin Embellished T-Shirt that have all been made with Cricut machines.
Materials Required To Make The Jellyfish T-Shirt
- Cricut Maker (you can also use a Cricut Explore)
- Cricut Black Cricut Iron-on Vinyl
- Cricut Weeding Tool
- Light Box
- Cricut EasyPress 2 (you can use an iron if you don’t have one of these)
- T-shirt (the one in this post is from kids H&M)
- Cricut Image – Jellyfish Mandala #MA96F4D1 from Intricate Mandala Designs Cartridge
Open up a new project and search for #MA96F4D1 in images. Insert the image, resize to fit your T-Shirt and then press ‘Make It‘.
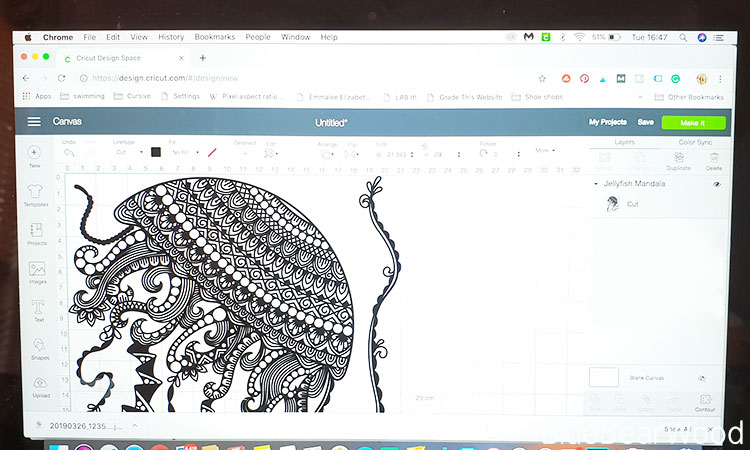
You need to reverse any

Cricut Iron-On vinyl gets placed face down on the mat to cut, which is why you reverse/mirror the jellyfish image. Make sure your rub well to stick it down as it can have a tendency to curl at the edges.

Follow the instructions on the screen and select your material to be cut (this differs from the Cricut Explore that has an external dial that you use to select your material).

It’s very difficult to see the fine cut lines of the Jelly Fish Mandala design on the black glitter iron-on vinyl so you will need a light box and weeding tool to gently pick out the pieces. It’s still pretty tricky and will take quite a few hours. I did a couple of hours each night over three days. If you’re really struggling you can bend the vinyl between your forefinger and thumb to reveal the edges. I had a couple of tiny tears on my piece but they welded together when heated at the end.

The jellyfish mandala looks really impressive when you finally finish weeding!

Using The Easy Press 2 To Put The Cricut Jellyfish Image on Your T-Shirt
When you’ve carefully taken of all the excess bits of weeded vinyl from your cut it’s time to use the Easy Press 2 (or

Following instructions on the Cricut EasyPress Heat Settings Guide I set my EasyPress to 165 degrees and applied heat for 30 seconds. Then it was time to carefully peel back the clear plastic layer!

If you find that any pieces aren’t stuck down totally just replace the protective plastic sheet and apply more heat focussing on that specific area.
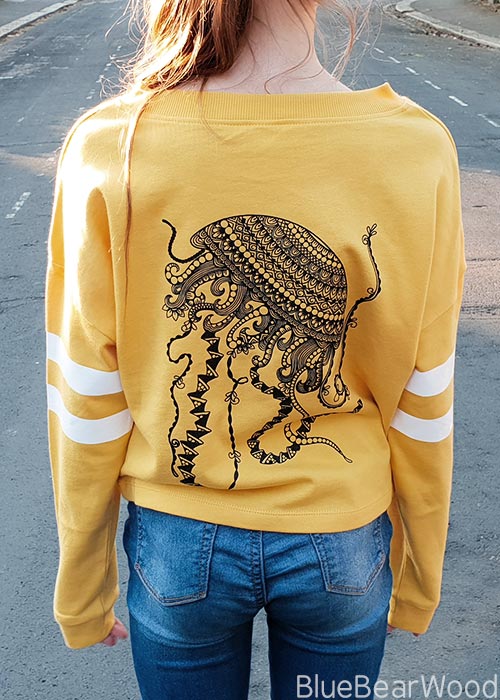

Thanks. I love that you put it on the back, not the front of the shirt.