This is a sponsored conversation written by me on behalf of Cricut. The opinions and text are all mine.
As you may know, Cricut sent me their new Cricut Maker to review along with some other tools and materials, and today I’m going to talk about their Cricut EasyPress 2 and EasyPress Mat that I was sent… plus show you how to make this super cute Summer T-Shirt.
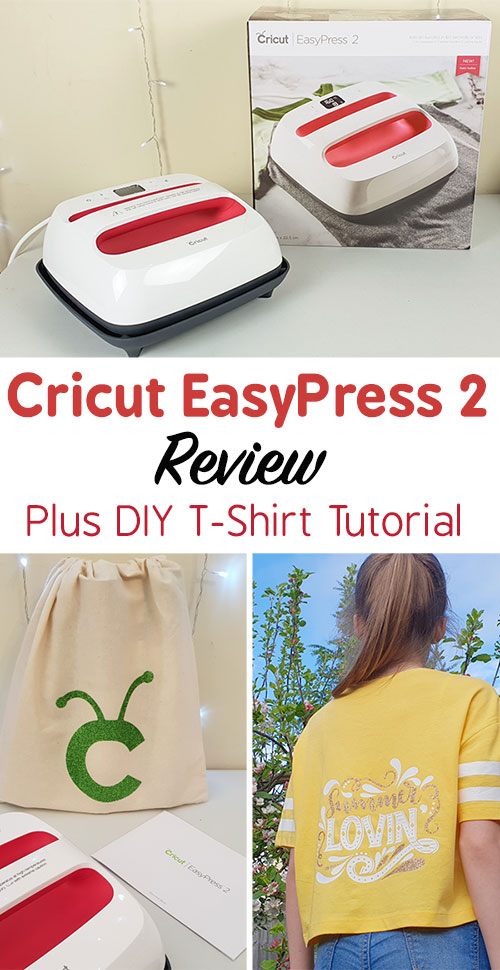
What Is The Cricut EasyPress 2
So, in case you’re wondering, the Cricut EasyPress 2 is a mix between a heat press and your regular iron and is used to apply heat to iron-on vinyl to make it adhere (stick) to the material surface of an object… such as a piece of fabric.
Of course, you don’t need an EasyPress 2 to apply heat vinyl and can use a household iron (I made this Pumpkin T-Shirt, Anchor T-shirt & Mask T-shirt all using an iron) but the temperature control, timer and large square heat base give you much more control resulting in professional iron-on results without the guesswork that the household iron involves.
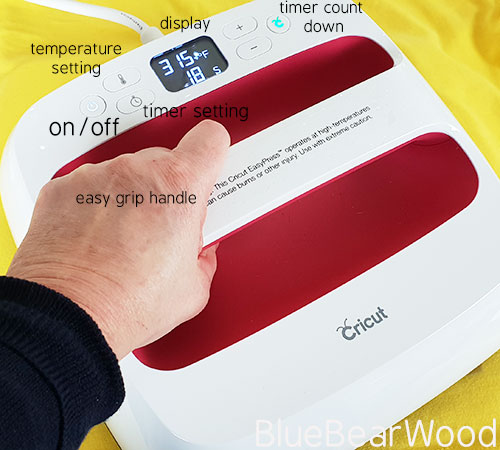
The Cricut EasyPress 2 comes in three sizes;
- 6″x7″ – great for baby clothes, hats, napkins and other small projects,
- 9″x9″ – perfect for basic T-shirts, pillows, towels and other mid-sized projects
- 12″x10″ – ideal for banners, blankets, large T-shirts and all things jumbo sized1
I was sent the 9″x9″ EasyPress 2 plus a Cricut EasyPress Heat Mat (purchase this separately)
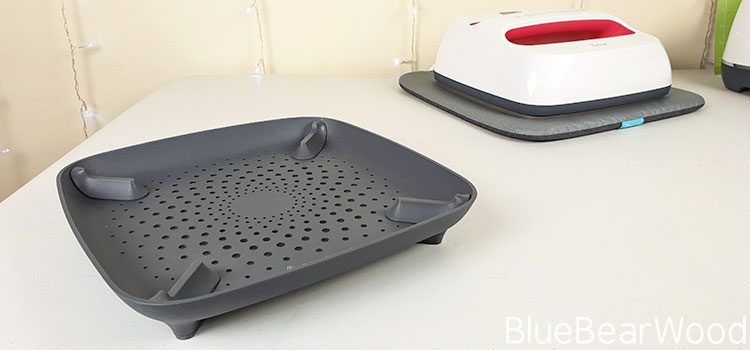
What’s In The Box
- Cricut EasyPress 2
- Safety base
- Welcome book
- Materials for practice project (cute tote bag with Green Cricut emblem)
- Safety Instructions & Warranty
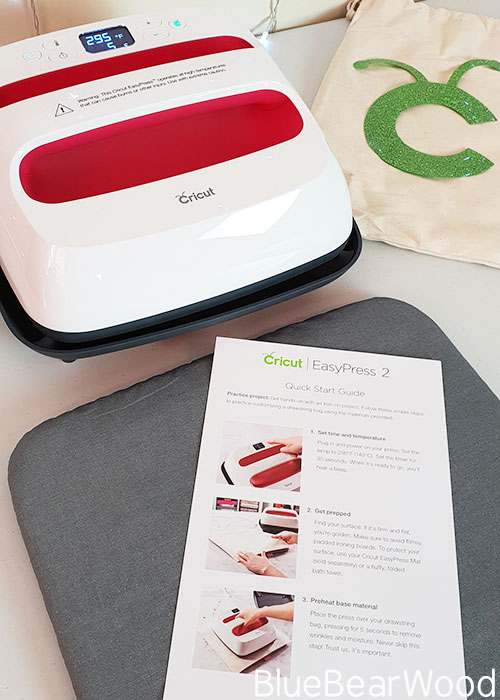
Cricut EasyPress 2 Key Features
- Start button with count down timer
- Super fast heat up time
- Adjustable temperature and timer
- Dry, even heat, ceramic coated heat plate
- Safe easy grip handle
- Streamlined safety base
- Auto shut off (shuts off after 10 mins)
You will need to use an ironing board or towel protect surfaces when using the EasyPress 2 or you can use an EasyPress Mat to use with the EasyPress (needs to be purchased separately). This comes in three sizes to accommodate the three different EasyPress 2 sizes
- 8” x 10” (20 cm x 25 cm)
- 12” x 12” (30.5 cm x 30.5 cm)
- 20” x 16” (50.5 cm x 40.5 cm)
The mats innovative construction eliminates moisture and directs heat to the iron-on design and shields your work surface from damaging heat and moisture.
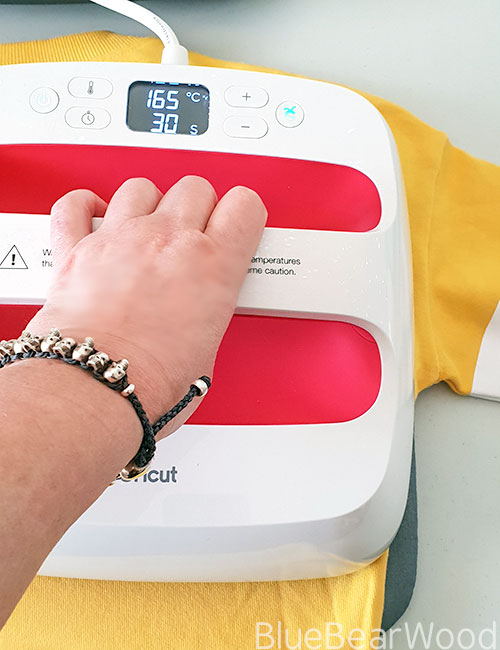
I love the EasyPress 2 and can see myself purchasing the smaller one as well. It’s so easy to use and gives great results: you switch it on, adjust the temperature (it has a max setting of 400°F/205°C) depending on the materials being used, set the timer, wait for the red Cricut light to turn green, place on top of your vinyl with steady pressure and lift of when done.
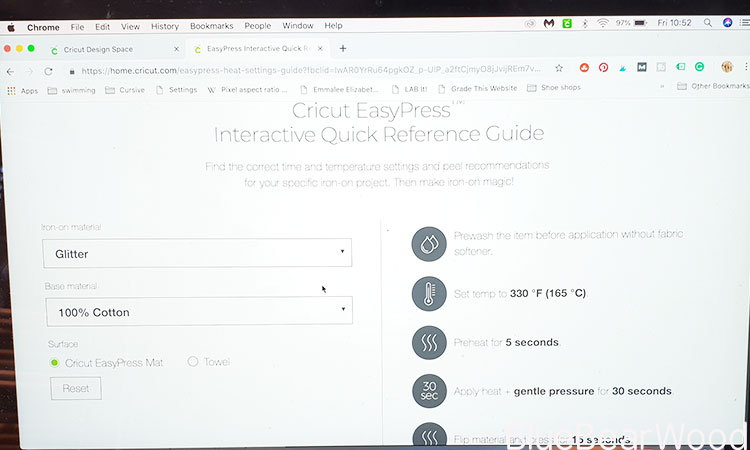
All helped by the super useful EasyPress 2 Heatings Guide Manuel.
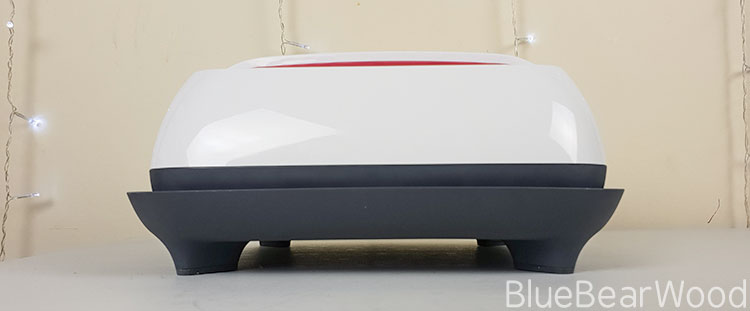
The safety base makes it so easy to use ‘anywhere’ especially when used with the EasyPress mat.
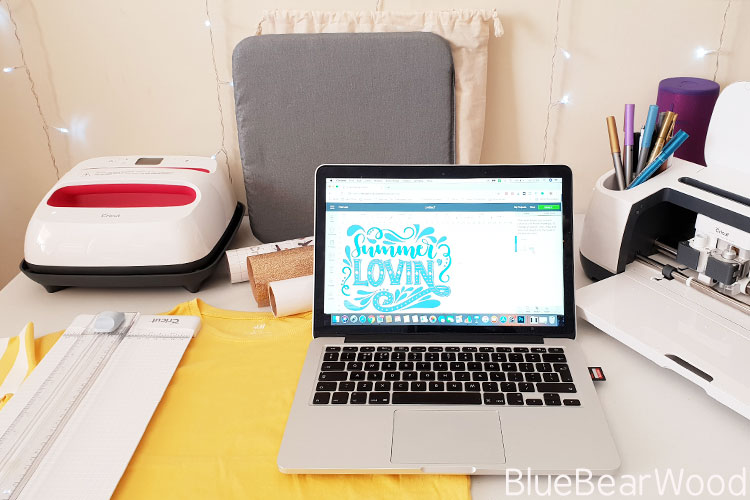
Before the EasyPress 2, I’d have to cut everything out in my craft area and then set up my iron and ironing board. Now I have the EasyPress2 right next to my laptop and the Cricut Maker. This means I can do everything in one place without worrying about the heat plate burning something (including me). On top of that, the EasyPress 2 it will automatically switch itself off after 10 minutes… which is great if you’re easily distracted or need to sort out a problem with your project.
Preview
The medium EasyPress2 is a great size for those starting out as it can be used for smaller and larger projects. With larger projects you can just heat the project in sections.
EasyPress 2 T-Shirt Project
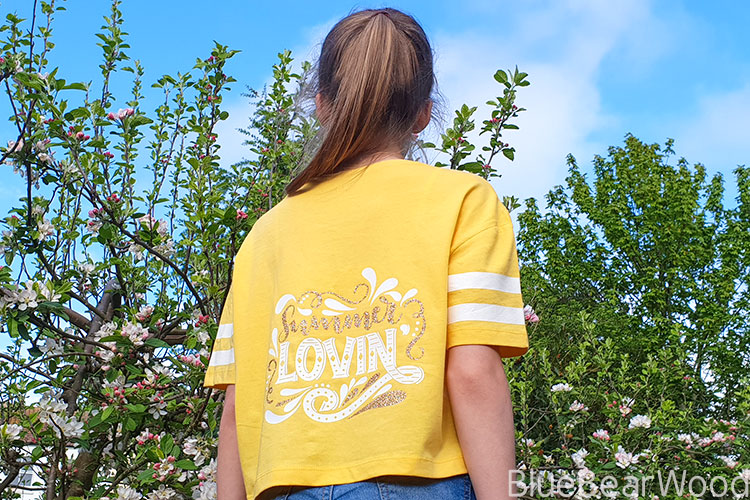
Having played with the cute starter project I then went on and made a couple of T-shirts: a black glitter vinyl Jelly Fish T-shirt and this cute Summer Lovin T-shirt. You can find more detailed instructions here.
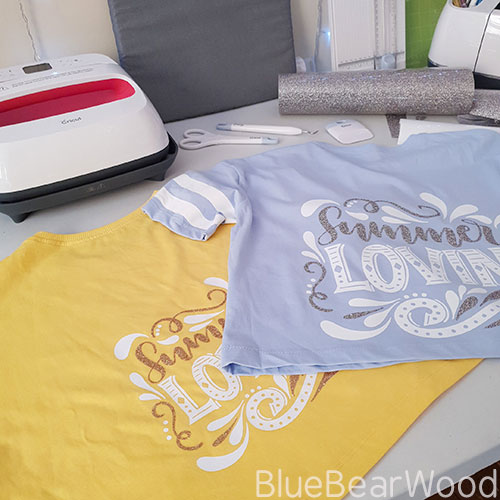
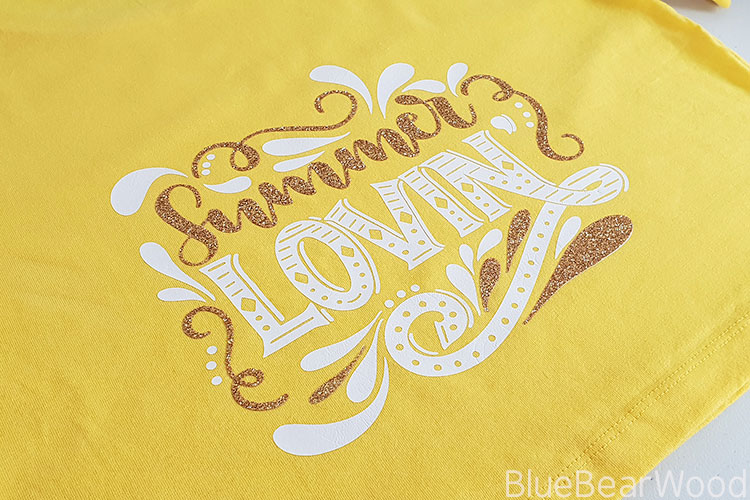
I edited the Summer Lovin #M8781B64 image from the Summer Forever cartridge so I could have two vinyl layers (one white iron-on vinyl and one glitter iron-on vinyl).
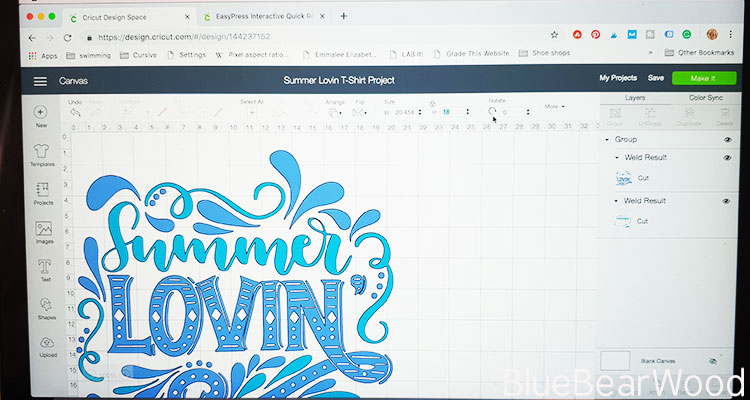
Each layer was cut out following the instructions on the Design Space screens … DON’T FORGET TO REVERSE THE IMAGE!
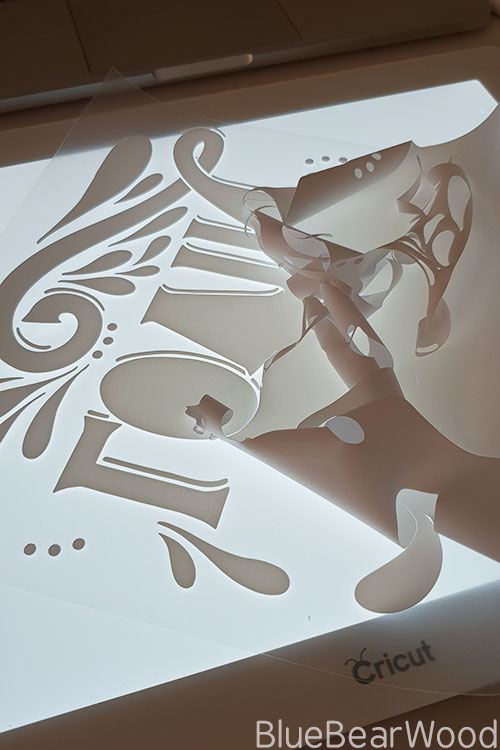
Place your iron-on vinyl on to the t-shirt to make sure you’re happy with the finished cuts. Originally I didn’t have any glitter pieces at the bottom and I didn’t like the look of the design.
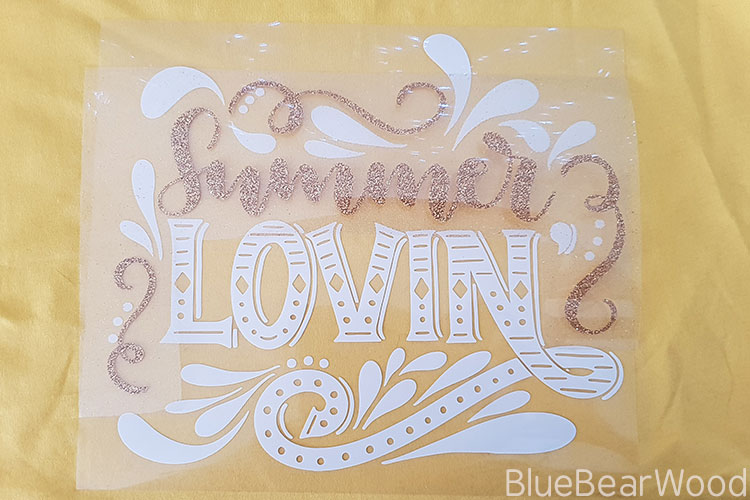
So I quickly cut out a few extra glittery pieces to balance the design out, which worked
Hi I just love this project. You have added bits to the Sumer loving design is there anyway I could buy this design from you thanks Jackie
Hi, nothing has been added. I just cut out the sections in different vinyl.