A few weeks ago, we were sent An Air Hogs E-charger to review and had high expectations of it based on our experience of the RC Batwing that we really enjoyed.

The key selling point of the E-Charger is that it’s quick to charge (30 seconds) and easy to fly. It sounded fab but did it live up to our expectations?
The packaging as always is minimal fuss and high quality meaning that you can unpackage it without any other tools and it shouldn’t get damaged in transit. You will need a small phillips screw driver to open up the charger, along with 3x AAA batteries to put in it.

The first thing to mention is that this is not a remote controlled flying toy. Apart from adjusting some flaps (I’ll talk more about that later) you have very little control on when this plane goes so if using it outside I’d suggest steering clear of an trees.

The plane is made out of of foamy like polystyrene which makes it really light. The nose area is more dense polystyrene which protects the propeller motor and as a reust is where the main weight of the plane lies.
You can adjust the direction the plane goes by moving some flays built in to the back wings (where the dark blue block with white writing is) but we found it very hit and miss. Instructions on how the flaps alter the flight are found in the instruction booklet. The flap movement is minimal because of the spongy nature of the polystyrene.
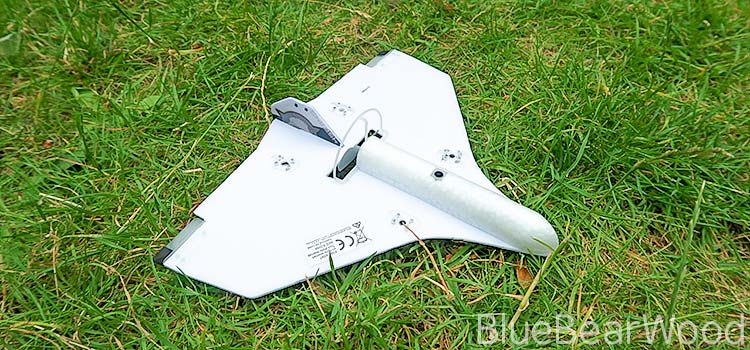
The propeller sits just behind the nose and is protected underneath by a plastic frame (the frame also stops it nipping your fingers as it spins very fast once it’s been charged. . It

HOW DO YOU FLY AN AIR HOG E-CHARGER?
The E-Charger is charged by inserting the charger pack into the hole on the underside of the main body nose.
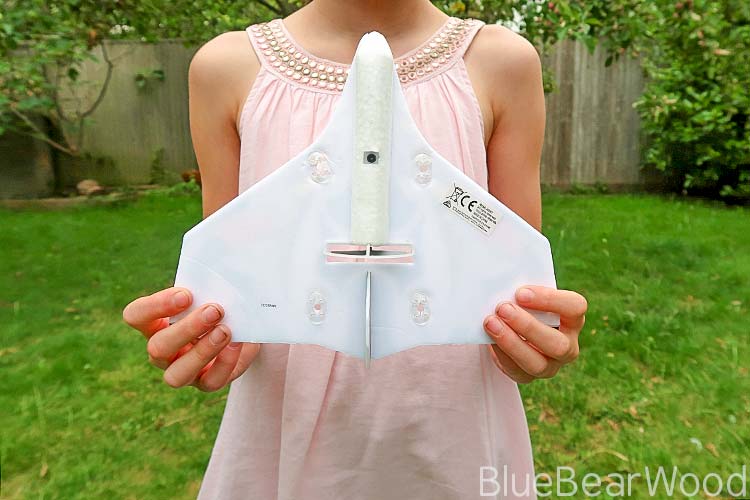
Holding the charger upright you press the side button and hold for 30 seconds (a red light comes on to indicate it’s charging). As soon as you lift the plane off the charger, the rotor will spin extremely fast (it’s quite noisy) and you just hold the plane underneath and gently throw it into the wind…

and if you’re in a garden hope it doesn’t go over your neighbours fence or get stuck in a tree!
We found ours flew to the left a lot, which as it turned out was a good thing as it kept it to the confines of the garden. It also had a tendency to nose dive to the ground. We managed to rectify this by hanging a couple of bits of clear tape off the back of each wing which added just enough weight to pull the plane into a more level position.
Whilst it worked ok-sh in the garden it struggled in the park and nose dived to the ground a lot. Not helped by the gusty wind. Having taken it home and played with the flaps and the addition of the tape we plan to give it another go in the park to see if this improves things.
I think it has the potential to be quite a cool toy to take to the park on sunny days for a bit of fun BUT there is need to understand how it flies and to take items like light weight (easily removable) tape with you so you can alter the back end. And this is the main problem. The concept is great but in practice this plane needs a lot of test flights and some children just will not have the patience or interest in doing this.
Does this fly like a bird? No … It’s more of a fledgling but at only around £11-13 it’s not a bad little toy!
Leave a Reply