If you’re wondering how to make a fluffy Easter chick that looks adorable but is surprisingly simple to create, this easy step-by-step guide will show you exactly how to do it.
These soft yellow Easter chicks are perfect for spring decorations, Easter bonnets, classroom displays or little garden nests. We first made them years ago, and they still come out every Easter — often popping up in garden displays under the curious watch of our cat.
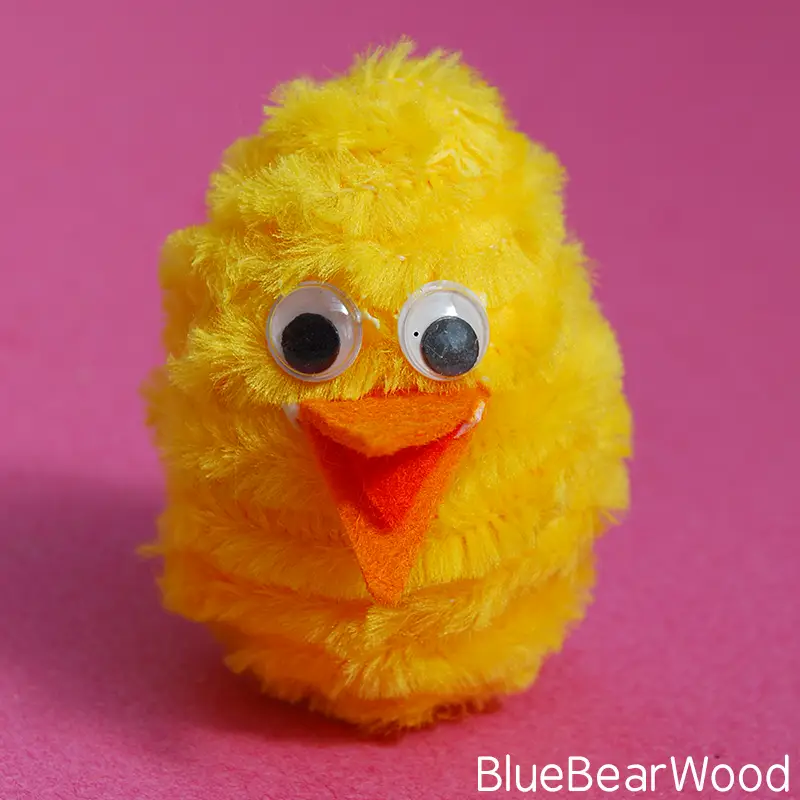
This Easter chick craft uses chenille trim wrapped around a polystyrene egg to create that fluffy, downy texture that makes chicks so charming.
Why This Fluffy Easter Chick Craft Is So Popular
- It looks impressive but is easy to make
- It’s lightweight — perfect for Easter bonnets
- It uses simple craft supplies
- You can customise the beak and eyes
- Each chick turns out slightly different
If you’ve searched for easter chick crafts, how to make an easter chick, or making easter chicks, this method gives a neat, sturdy result.
More Easter Crafts You May Like
Still in Easter making mode? Here are a few more cheerful craft ideas to inspire you.
Materials You’ll Need
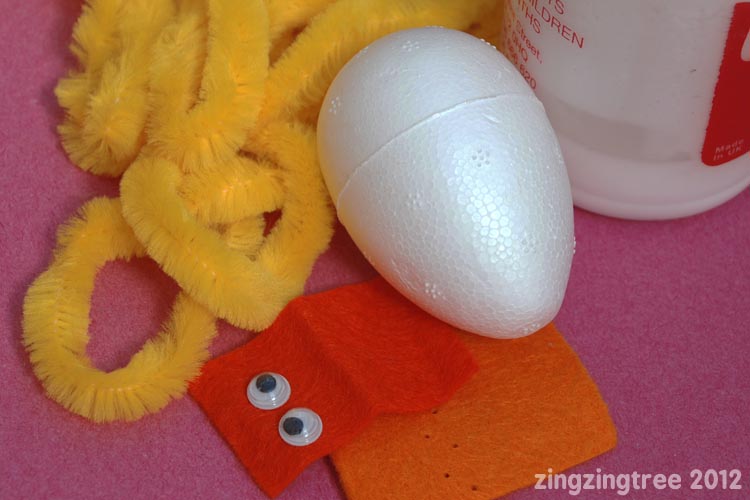
To make a fluffy Easter chick, you will need:
- Polystyrene egg
- Yellow chenille ribbon or trim
- Orange felt off-cuts
- Googly eyes
- PVA glue
- Small craft stick
Step-by-Step: How to Make a Fluffy Easter Chick
Step 1: Create an Anchor Point
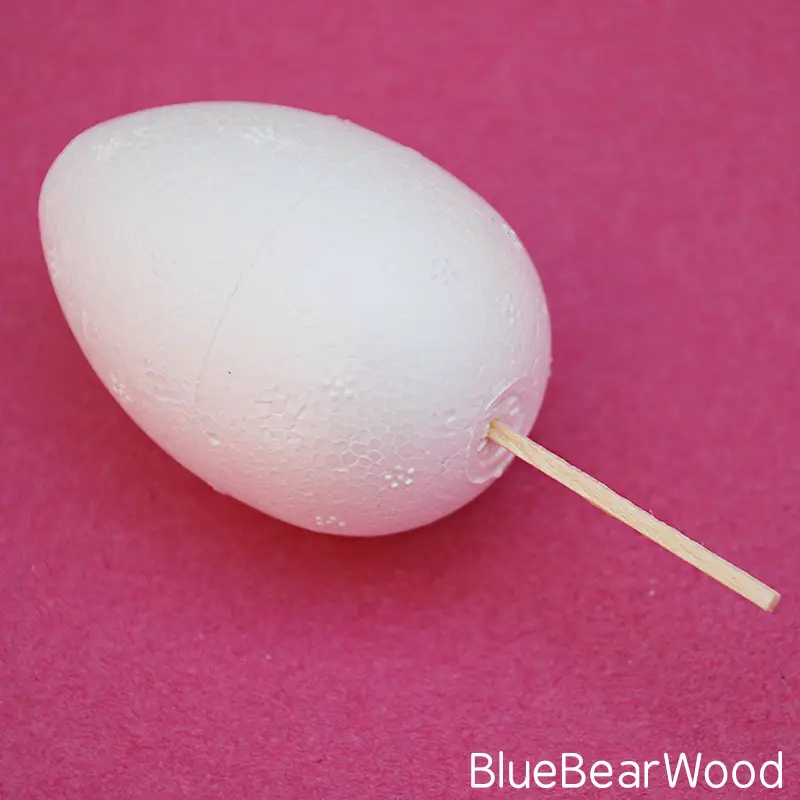
Use a small craft stick to make a tiny hole in one end of the polystyrene egg. This will help secure the chenille ribbon when you begin wrapping.
Step 2: Start Wrapping the Chick
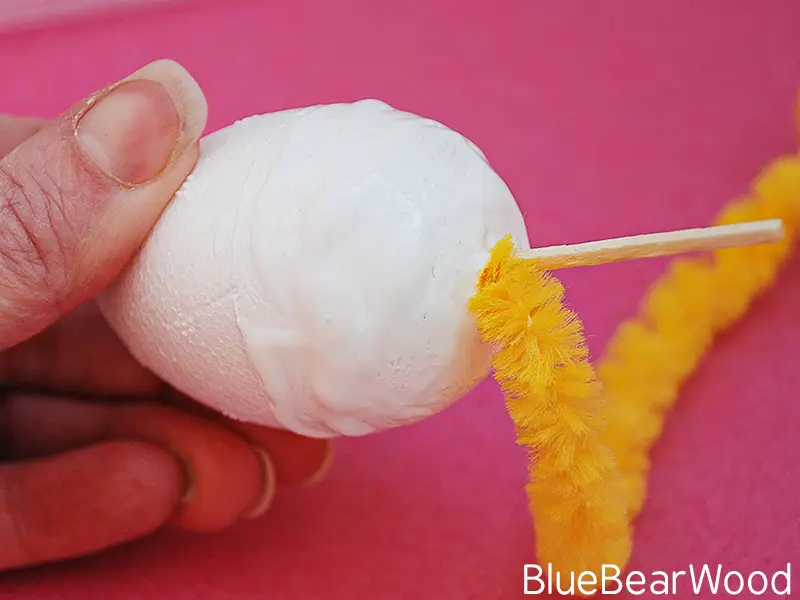
Apply a generous amount of glue to the bottom third of the egg.
Carefully push the end of the yellow chenille ribbon into the hole using your stick. This keeps it in place as you begin wrapping.
Step 3: Cover the Egg Completely
Working in sections, apply glue and wrap the chenille ribbon around the egg shape, pressing it gently into the glue as you go.
Continue until the entire egg is covered in soft yellow fluff.
This stage requires a little patience, so younger children may need help here. They can easily join in once it’s time to add the beak and eyes.

Step 4: Press and Shape
Cup the egg in your hand and gently press and pat the chenille into place so it sits neatly and securely.
At this point, your fluffy Easter chick body is finished.

How to Make a Chicken Beak (Simple Felt Method)
Lots of people find this craft searching for how to make a chicken beak or DIY chicken beak, so here is the simple method we use.
Easy Felt Beak Technique
- Fold a small piece of orange felt in half. Off-cuts are great for this but you could use thick craft card.
- Cut a long triangular beak shape so that when unfolded, you are left with a symetrical diamond shape.
- Cut a smaller triangle from darker orange felt for the tongue.
- Run a line of glue along the center of the felt diamond and glue the tongue in
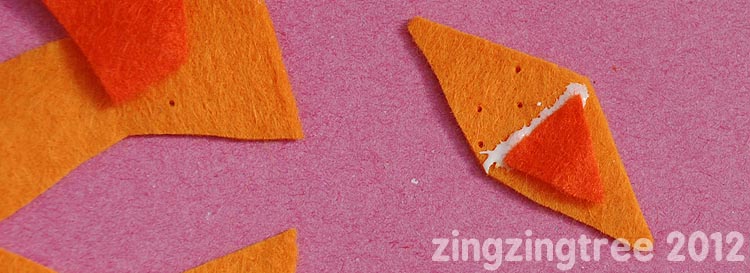
- Fold the diamond in half and hold it shut for a few seconds until the glue holds the beak in shape.

This folded technique gives the beak dimension rather than leaving it flat.
You can adjust the shape slightly to create different expressions — smaller for a sweeter chick, wider for a cheekier look.
This same technique works if you’re wondering how to make a chick beak for other craft projects too.
Add the Eyes and Finish Your Chick
Glue the felt beak onto the front of the chick.
Then attach the googly eyes just above the beak. Changing the spacing slightly can give your fluffy Easter chick a completely different personality.
Every chick turns out a little different — and that’s part of the charm.

Can You Make This Without Chenille Ribbon?
Yes! If you don’t have chenille trim, you could try:
- Wrapping yellow yarn
- Using fluffy wool
- Making pipe cleaner chicks
- Or even use string
The method stays similar — create a rounded chick body first, then add the beak and eyes.
How & Where to Use Your Fluffy Easter Chick
Because they’re light hese little Easter chicks are perfect for:
- Easter bonnet decorations
- Spring table centrepieces
- Easter nests with mini eggs
- Classroom Easter crafts
- Garden displays
- Hanging decorations
They’re lightweight, tactile and sturdy once fully dry.
These are so adorable and cute!! Thanks so much for sharing this with us at Sharing Saturday.
I LOVE your pipecleaner crafts! These are too cute!
These are so cute! Thanks for allowing me to share in my Easter Roundup 🙂