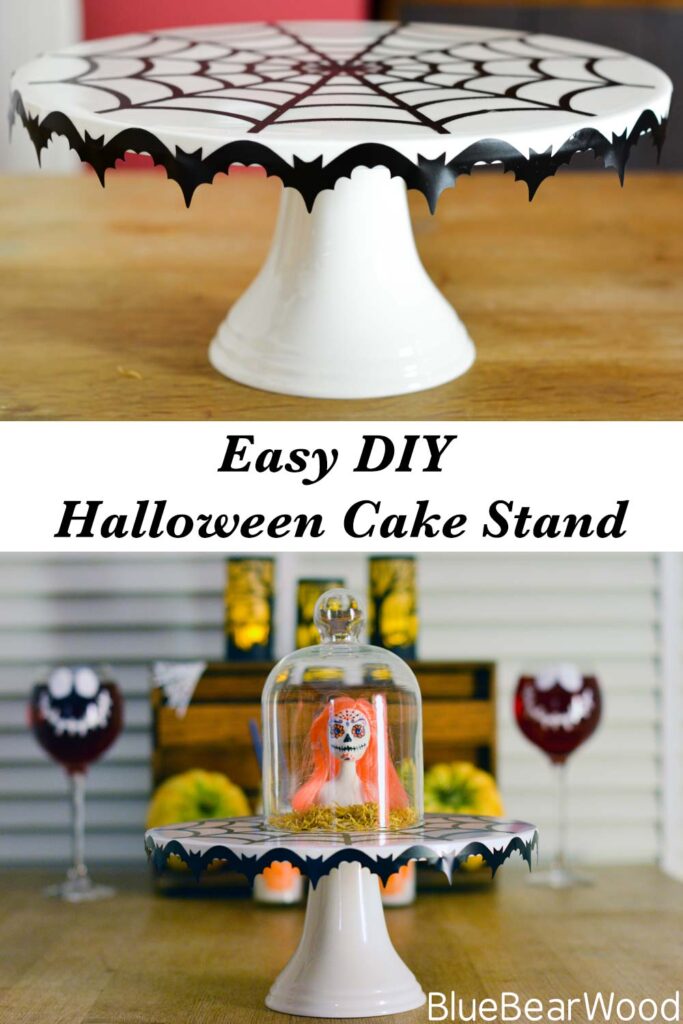
One of the key features of any of my Halloween decor is a Halloween Cake Stand. And it may surprise you to discover that it’s not always used to put cakes on!
1. The Perfect Base: Why a White Pedestal Cake Stand is Ideal
A plain white pedestal cake stand is a fabulous practical, and stylish piece of tableware. Its clean, simple lines and classic design make it incredibly versatile for any occasion. And the neutral color and elegant form allow it to blend seamlessly with various themes and decor styles. All of this makes it super easy to change up the look and restyle it to match any occasion and table display.
And if you add a smart electronic cutting machine such as a Cricut or Loklik or into the mix the opportunities become endless. These machines provide the ability to temporarily transform all manor or household items into star attractions at the touch of a button!
You can find some perfect plain white cake stands on Amazon that look similar to mine.
You may also love these fabulous Halloween crafts!


2. Tools of the Trade: Using A Cricut Machine
For those who are unfamiliar, a Cricut Machine is a smart electronic cutting machine that allows you to create intricate designs from various materials like vinyl, paper, and fabric. This machine is incredibly versatile and user-friendly, making it perfect for both beginners and experienced crafters.

There are a few models available;
- Cricut Explore – Get yours on Amazon
- Cricut Maker – Get Yours on Amazon
- Cricut Joy – Get yours on Amazon
And there’s even a new more budget-friendly brand called Loklik. This machine works in a similar way to the Cricut machines (it feels a little cheaper) and has lots of comparable accessories. The key difference is that the Loklik design software is much more limiting than Cricut Design Space and there is a lot less support (groups, tutorials, DIY projects, etc.)
The following is a detailed guide on how I created my Halloween Cake Stand:
Measuring and Planning
The first step in any customization project is accurate measurement. I started by measuring the circumference of the cake stand and its rim depth, which is at least 1 cm. This step ensures that I size the vinyl cut-outs to fit perfectly and avoid any misalignment during application.
Creating the Vinyl Cut-Outs
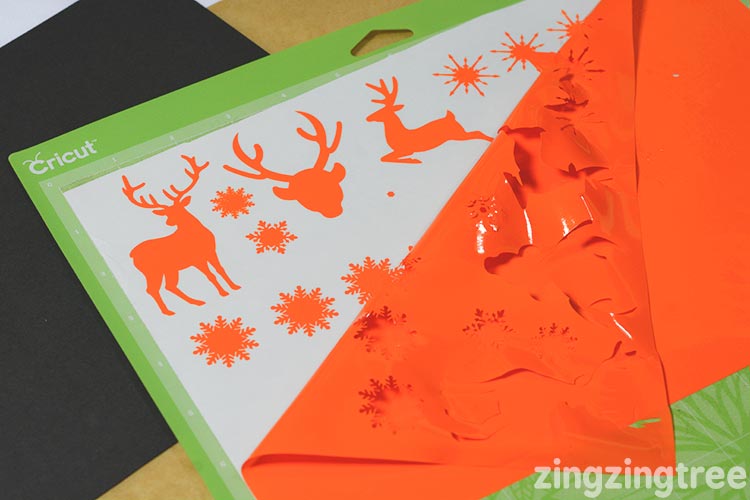
Using the Cricut Design Space software, which comes with the Cricut Explore, I selected Border #MsE636 from the Teresa Collins: Chic & Scary cartridge. I welded three of the images together and then resized them to fit neatly around the edge of the cake stand. It’s worth doing a few test cuts on scrap vinyl to ensure the design is sharp and the size is correct. I also had to overlap each end bat to creat the wing curve of the design.
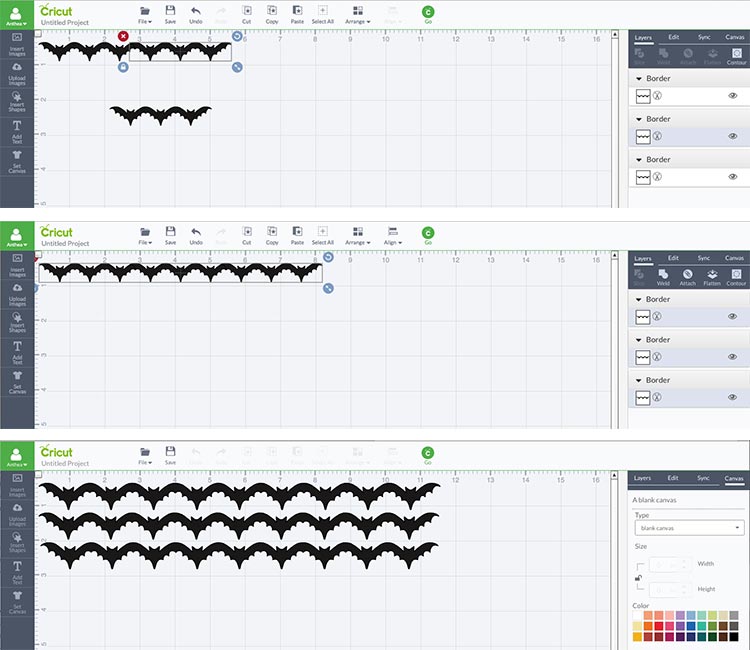
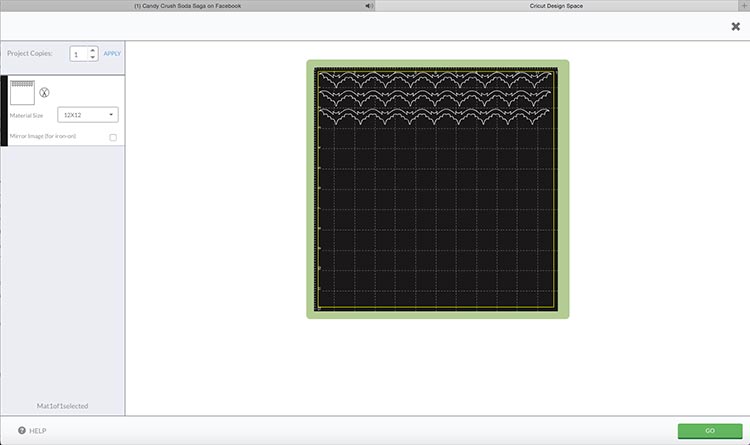
After finalizing the size (and making sure I maximised the width of the vinyl), I duplicated the image three times and cut it out using the Cricut machine.
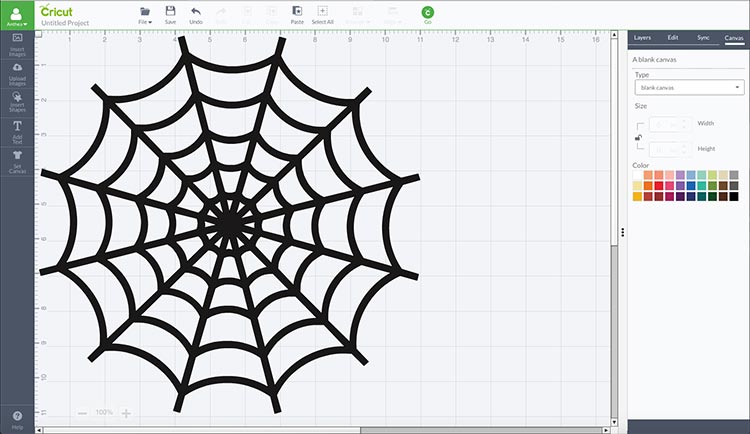
Next, I selected web1 #M2E3Eo from the same cartridge and resized it to cover most of the top of the cake stand top, leaving a small gap before the edge.
If you like this tutorial you may like some of my other DIY Cricut Projects:

3. Applying the Vinyl: Tips and Tricks
Attaching the vinyl images to the cake stand requires some patience and precision. Here’s my method for a smooth application:
Placing the Web Design
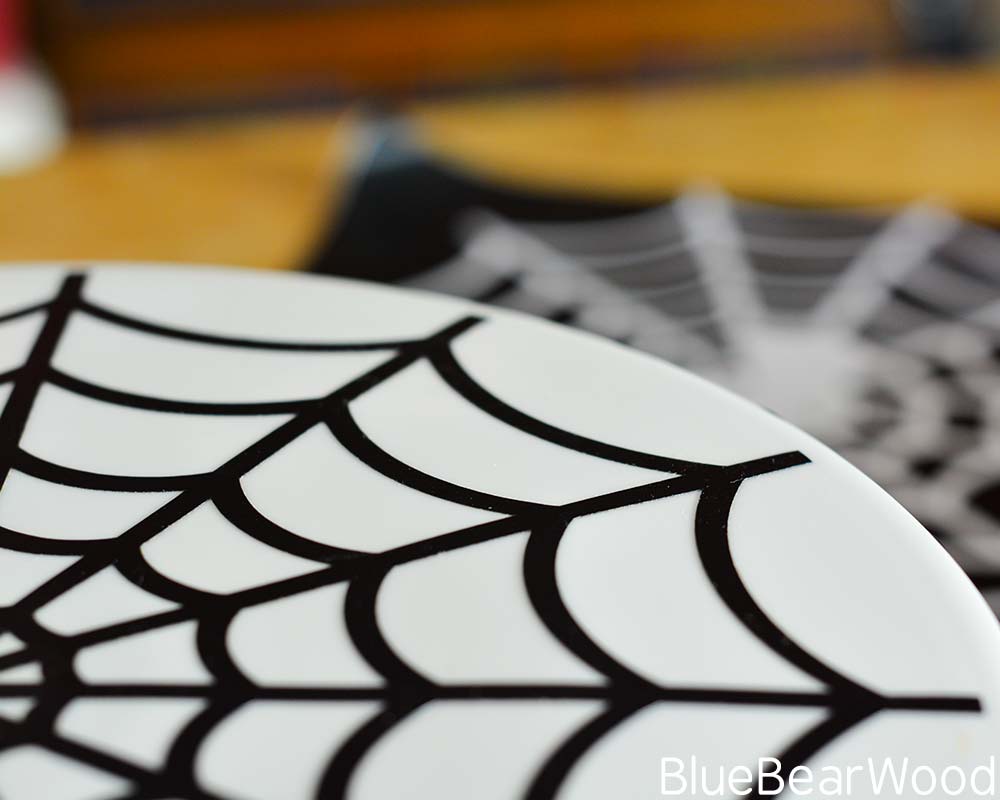
Start with the vinyl web, placing it carefully in the center of the cake stand. I found the best method of placement was to hold either side of the web between the thumb and forefinger of one hand. Once the centre has been positioned, gently press down one half of the web design, smoothing it out to avoid any air bubbles or wrinkles. Then move on to the other half. Be careful not to stretch the vinyl during placement, as this can distort the design.
Adding the Bat Border
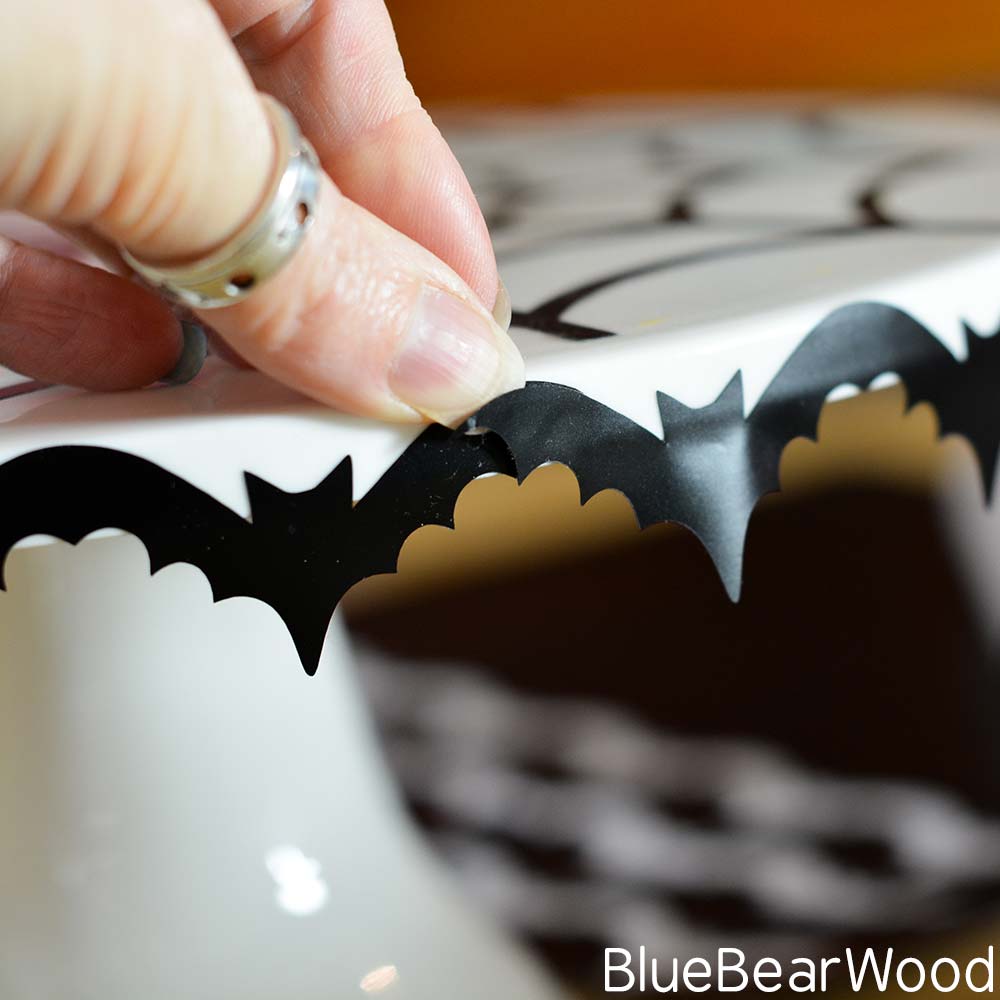
For the bat border, patience is key. Overlay the ends of each bat section (see photo below) to ensure the pattern repeats correctly. This step can be a bit tricky, but taking your time will result in a seamless look. The skill lies in keeping the cut-out aligned as you carefully lay it in place. Make sure to press down firmly and smooth out any bubbles for a clean finish.
4. Showcasing Your Halloween Cake Stand
Once your Halloween Cake Stand is finished, it’s time to showcase your hard work. There are several ways to make your cake stand a centerpiece for your Halloween celebrations:

Adding Treats
You can add cakes, biscuits, sweets, or any Halloween-themed treats to the stand. The black vinyl designs provide a spooky backdrop that enhances the presentation of your treats.
Creating a Table Centerpiece
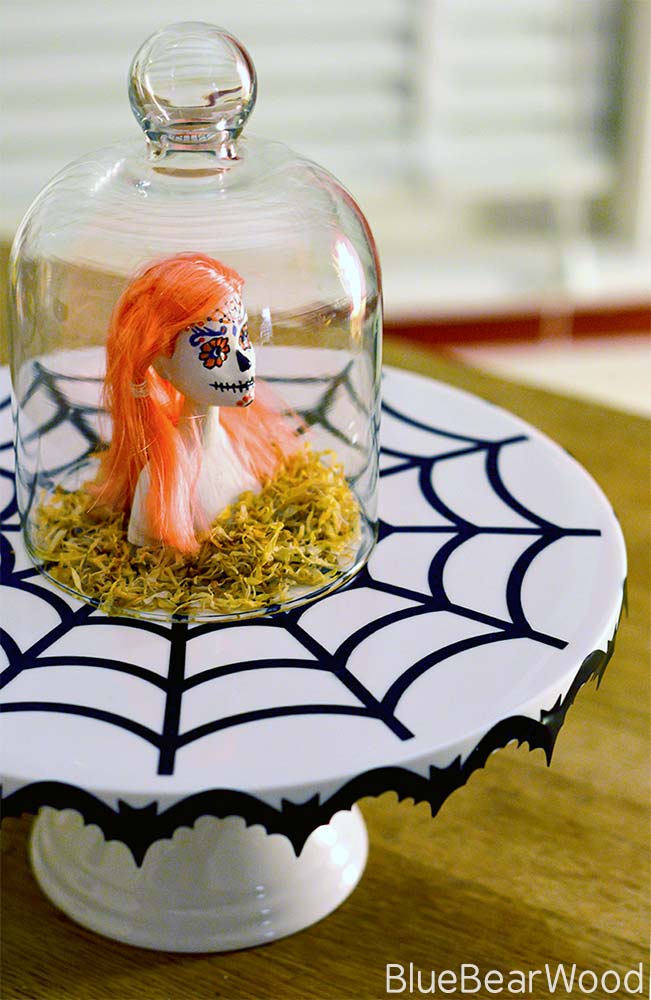
Alternatively, use the stand as a centerpiece in your Halloween table layout. For an extra spooky touch, place a Sugar Skull Doll in the middle. This creates a striking focal point that will impress your guests.
Additional Decoration Ideas
Consider adding other Halloween decorations around the cake stand to complete the look. You can place small pumpkins, candles, or spiderwebs to create a festive atmosphere.
If you loved this then check out even more amazing Halloween Ideas using the Cricut Explore here.
I have a cake stand just like this, yours looks brilliant all finished up! The photo above would make a very spooky table centrepiece for your Halloween party this year!
I absolutely love the idea of a halloween cakestand, it looks awesome
The creativity in your stand is brilliant I love the way you designed it on the computer and got the bat design to go around your stand, also the web is great too I appreciate it when people take a little time to put detail into there creations.
What a lovely spooky idea and it looks easy to do too.
Oh wow that is so cool
Oh Anthea you are clever!! This looks truly stunning. The Cricut is just brilliant isn’t it?
Very creative! It looks super!
This is perfect for Halloween – and I do admire your patience in making it.
That looks so awesome! How clever 🙂
I love that this is a great way to decorate a simple stand and make it seasonal without making it permanent. Love it
Very cool and in season tutorial, you make it sounds very easy, I am sure it does take some practice and patience!xx
That looks really effective – not having a party this year but we are already planning a 50th for next year
I love cake stands at the best of times, but this is so cute!
Wow this looks fantastic!! What a brilliant idea.
Oh my gosh, you clever lady.
This is just awesome
wow that looks effective, a great idea.
Oh this is fab, I bet you can be very creative with the circuit machine.